
How to Create a Freebie Sequence with Mailchimp

March 28, 2021
Want an easy way to grow your email list? Create a freebie!
By freebie, we mean offering something valuable (and free) in exchange for an email address.
One way we’ve seen success with this is by creating a multi-page, downloadable PDF that shares pro tips in your area of expertise. We’ve designed the following freebies for clients:
- A 30-page interior design guide for back to school cleaning & decorating kids’ rooms
- A guide to planning vacations for summer with unique outfit ideas
- A guide to Christmas decorating, baking and cleaning from three Instagram bloggers
We also offer a few of our own, including The Best Free Fonts in Canva, How to Set Up Pinterest for Business, and 5 Ways to Build Your Email List.
All of these guides do the following:
- Establish authority in that you are knowledgeable about your area of expertise.
- Create trust with the consumer that your products or services are valuable and worth the investment.
- Create a “bond” between you and your potential client because you are offering something for free, and they’ll be more likely to want to reciprocate (by sharing your business with others, or by purchasing your products or services).
- Grow your email list and/or Instagram following (duh)
A good freebie sounds pretty great, right?! There are so many amazing benefits!
Here’s a step-by-step guide to create a freebie that you can use to grow your email list:
1. Brainstorm what the freebie will be about.
First, decide which product or service you want to sell. Let’s say you’re a business coach—what are some tips you can share that will leave your potential clients wanting more? For example, you could share five productivity tips for entrepreneurs, knowing that your ideal client struggles with productivity. Someone, let’s call her Anya, might join your email list, be blown away by these tips, and decide she wants to hire you. And if that doesn’t work, since Anya is now on your email list, you’ll have the opportunity to nurture her via future email marketing until she does. 😉
2. Design the freebie or hire a designer to do so.
If you don’t feel comfortable designing the PDF, hire a designer (like us! 😉 ) to do it for you! Otherwise, there are plenty of templates out there that you can find via Creative Market or Etsy that you can plug your content into. Just make sure it looks good and provides valuable content because this may be your brand’s first impression for a new customer.
3. Create a landing page in Mailchimp.
Here are the following steps to do so:
A. Create campaign
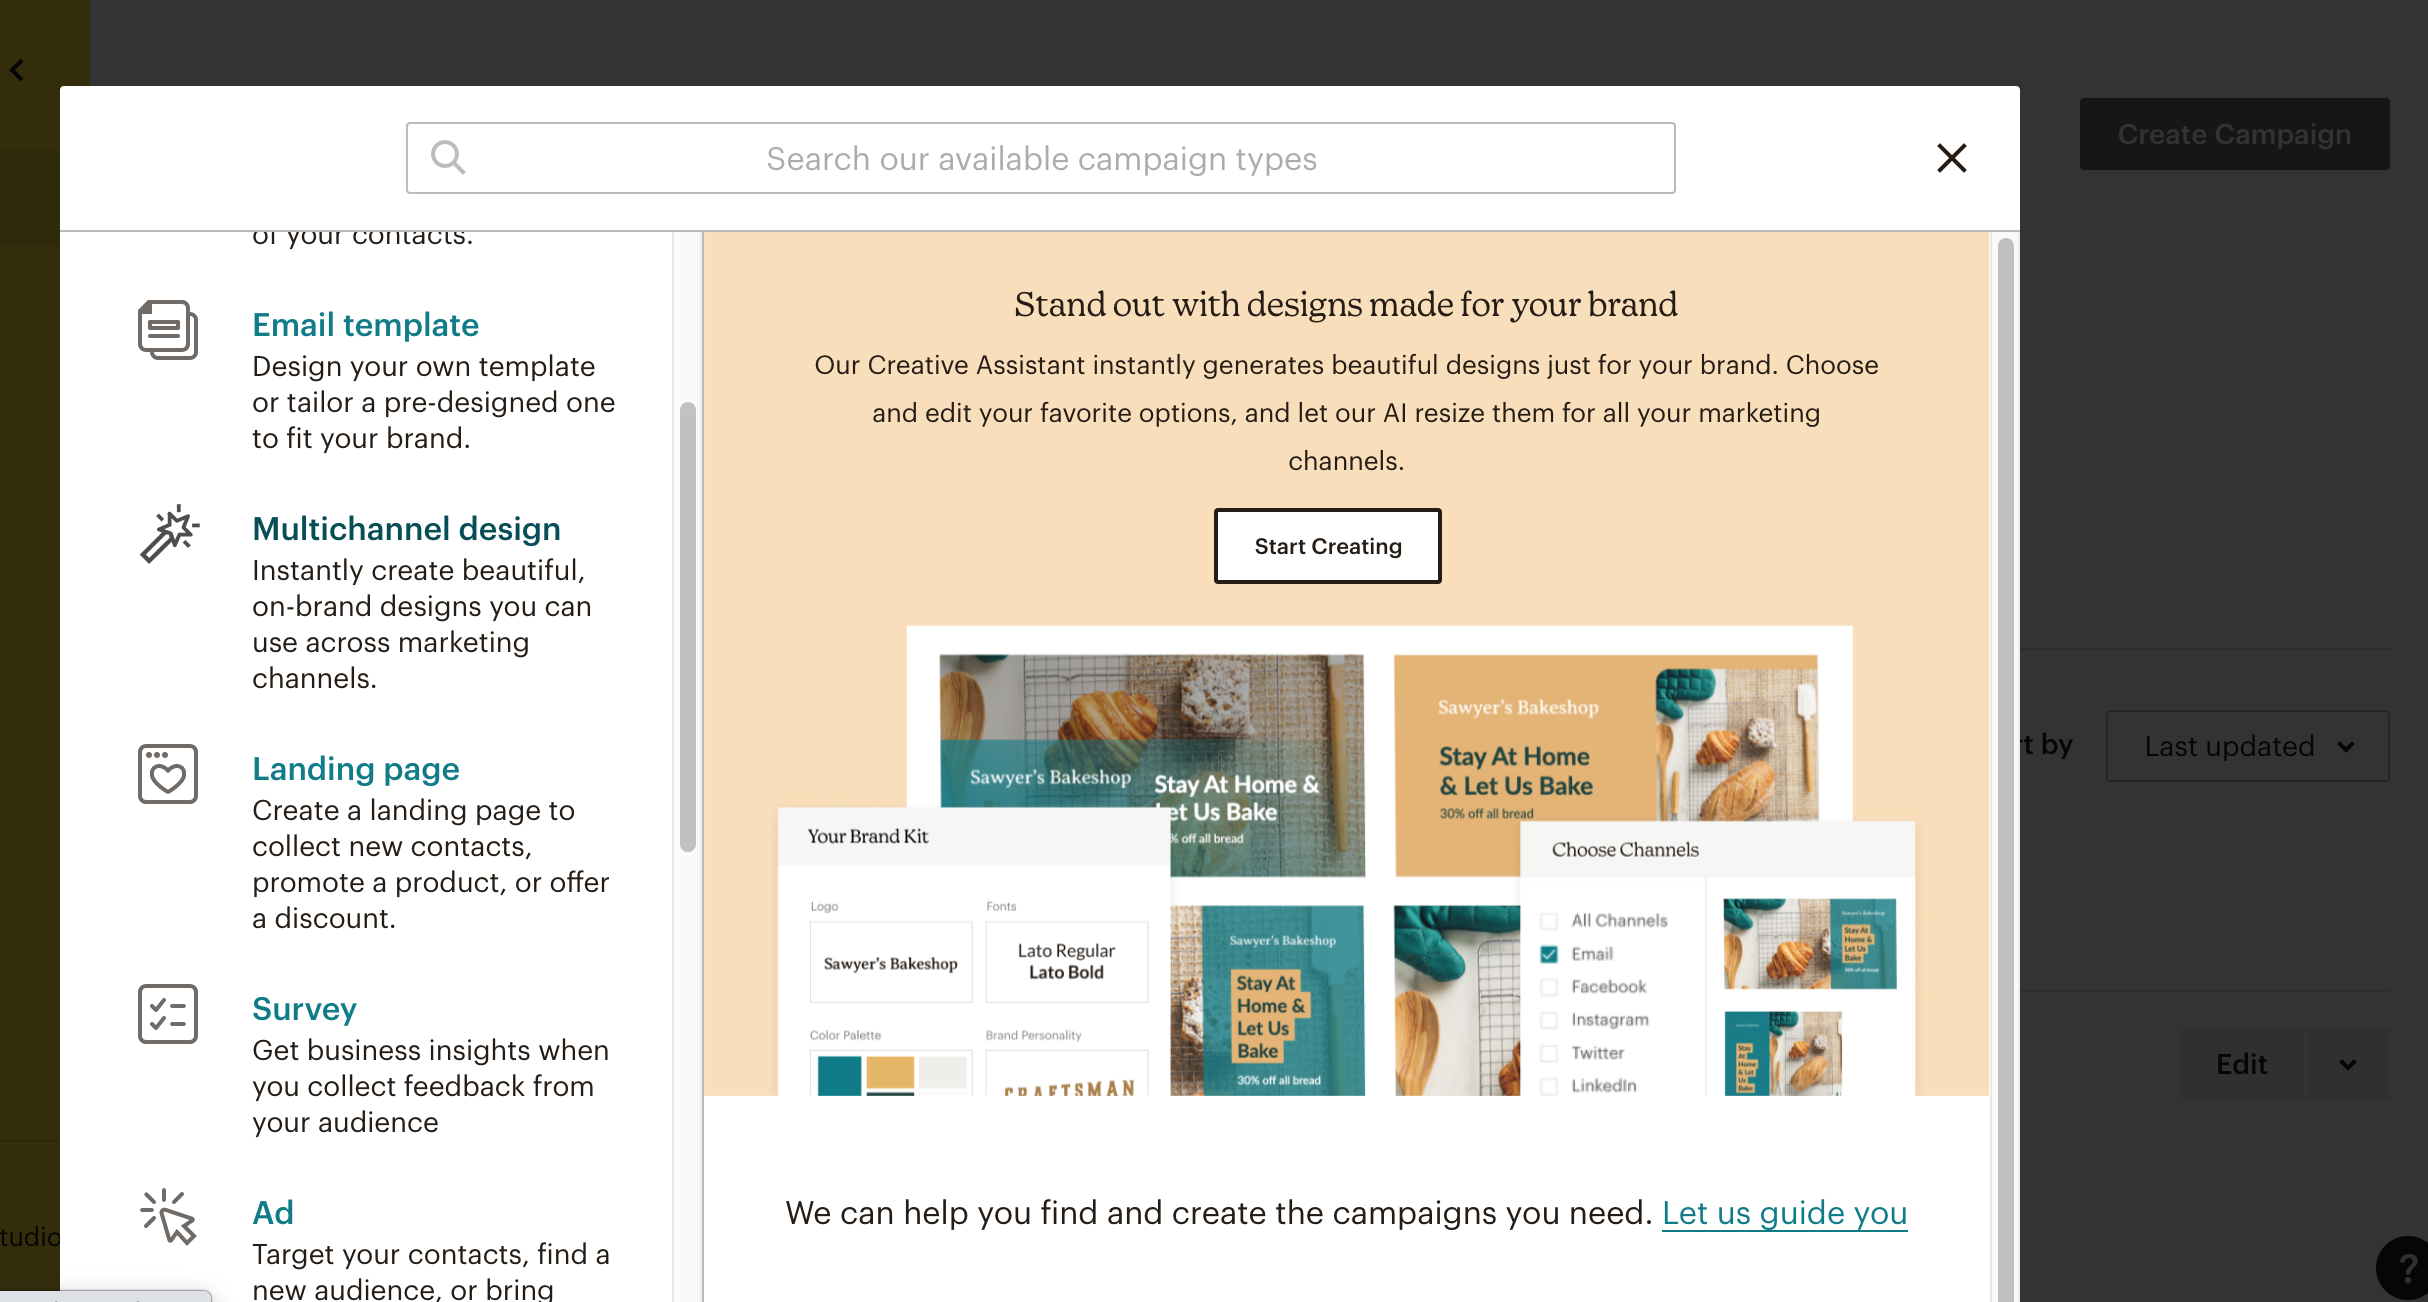
B. Scroll down to “landing page”
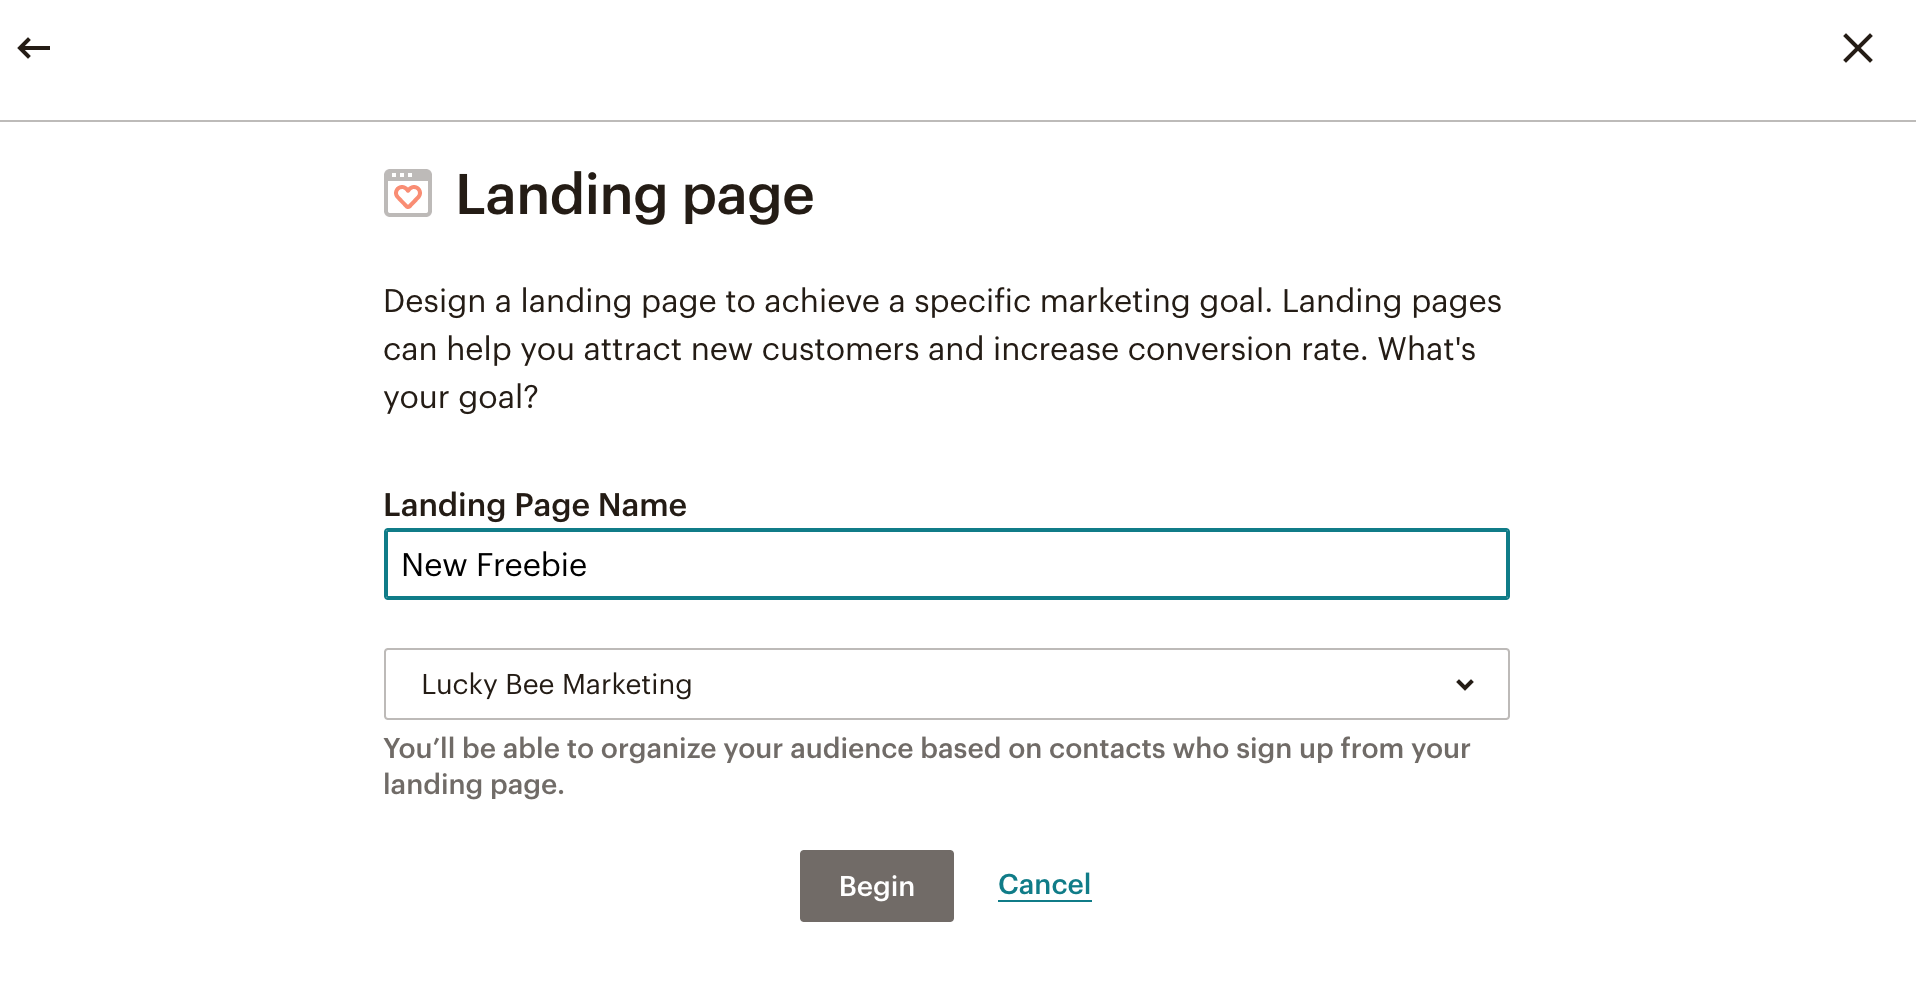
C. Name your landing page.
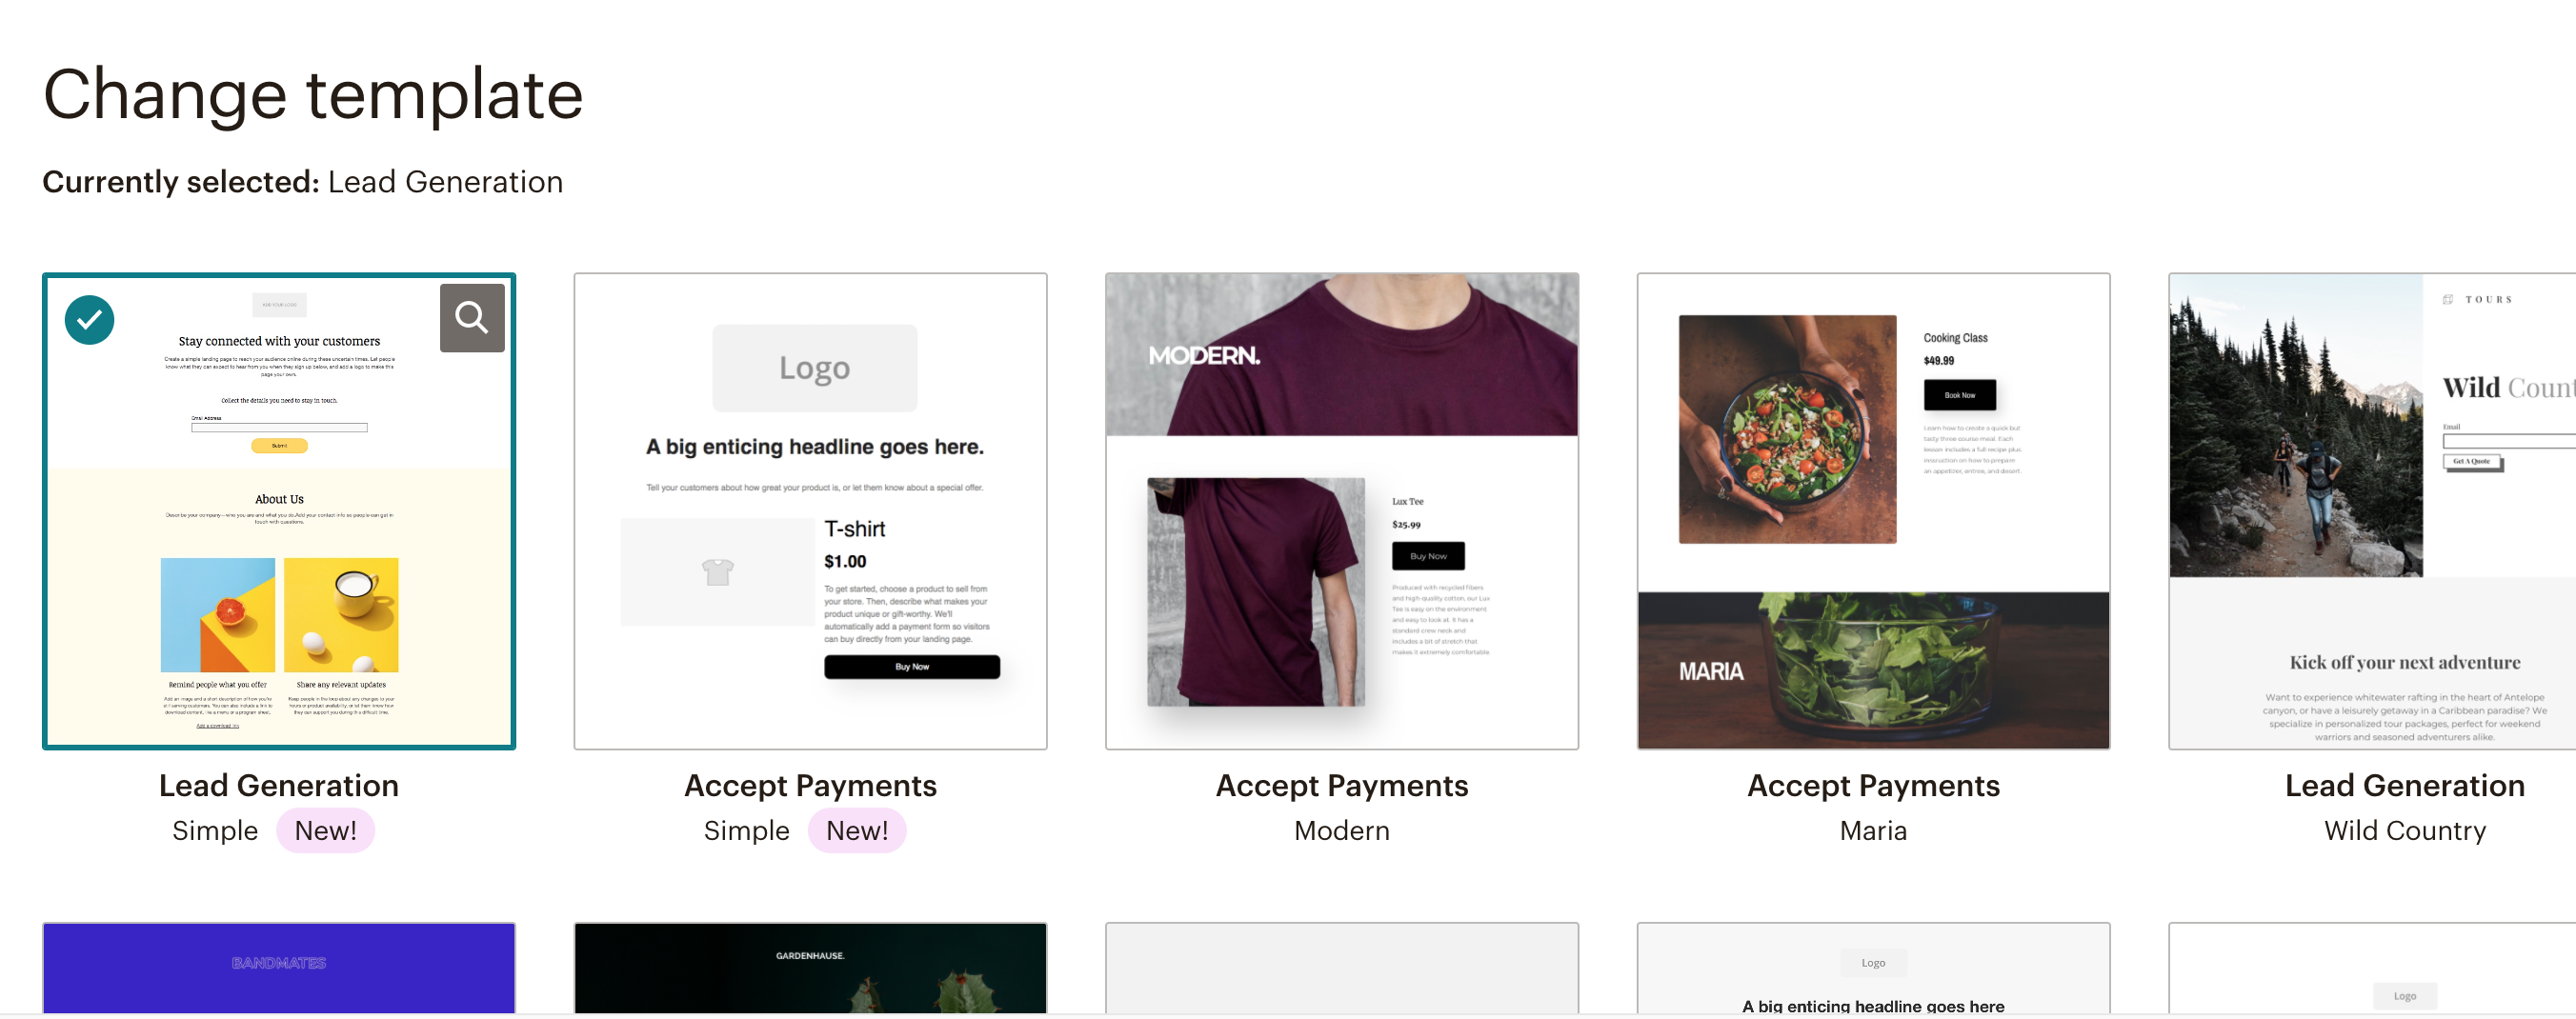
D. Choose a template or create one from scratch.
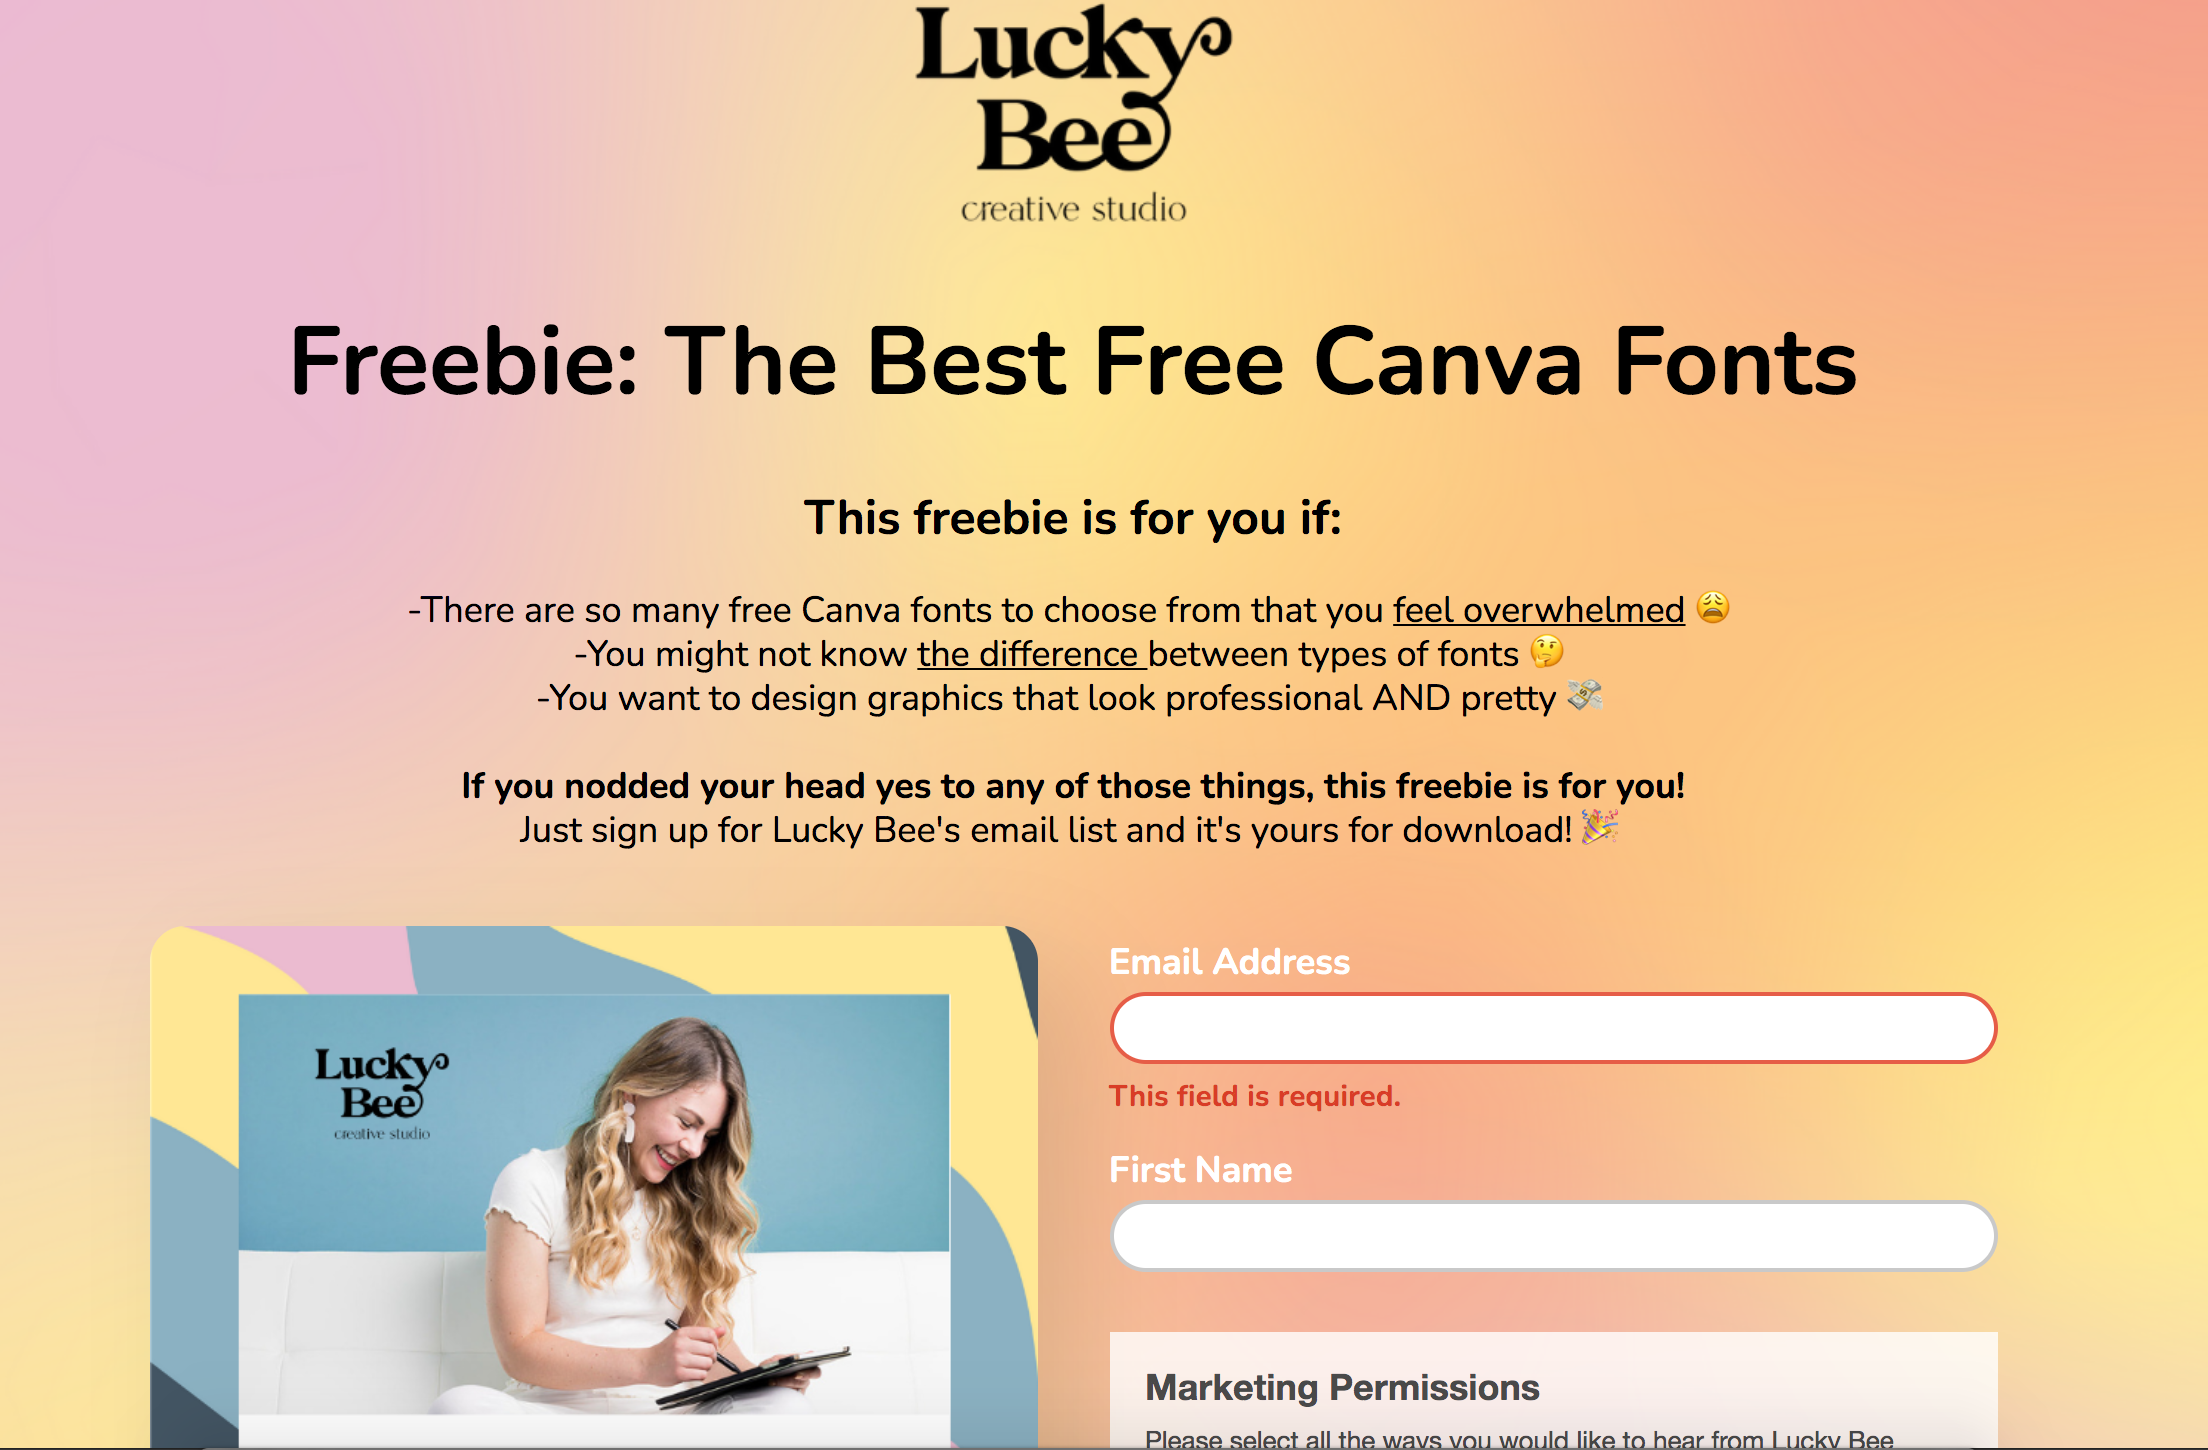
E. Write your landing page in a way that will convince your customer to want to give you their email address in exchange for your content. Make it clear exactly what they will be getting or learning in exchange for their contact information—you can target emotions, too (for example, they’ll find relief or be more confident in xyz).
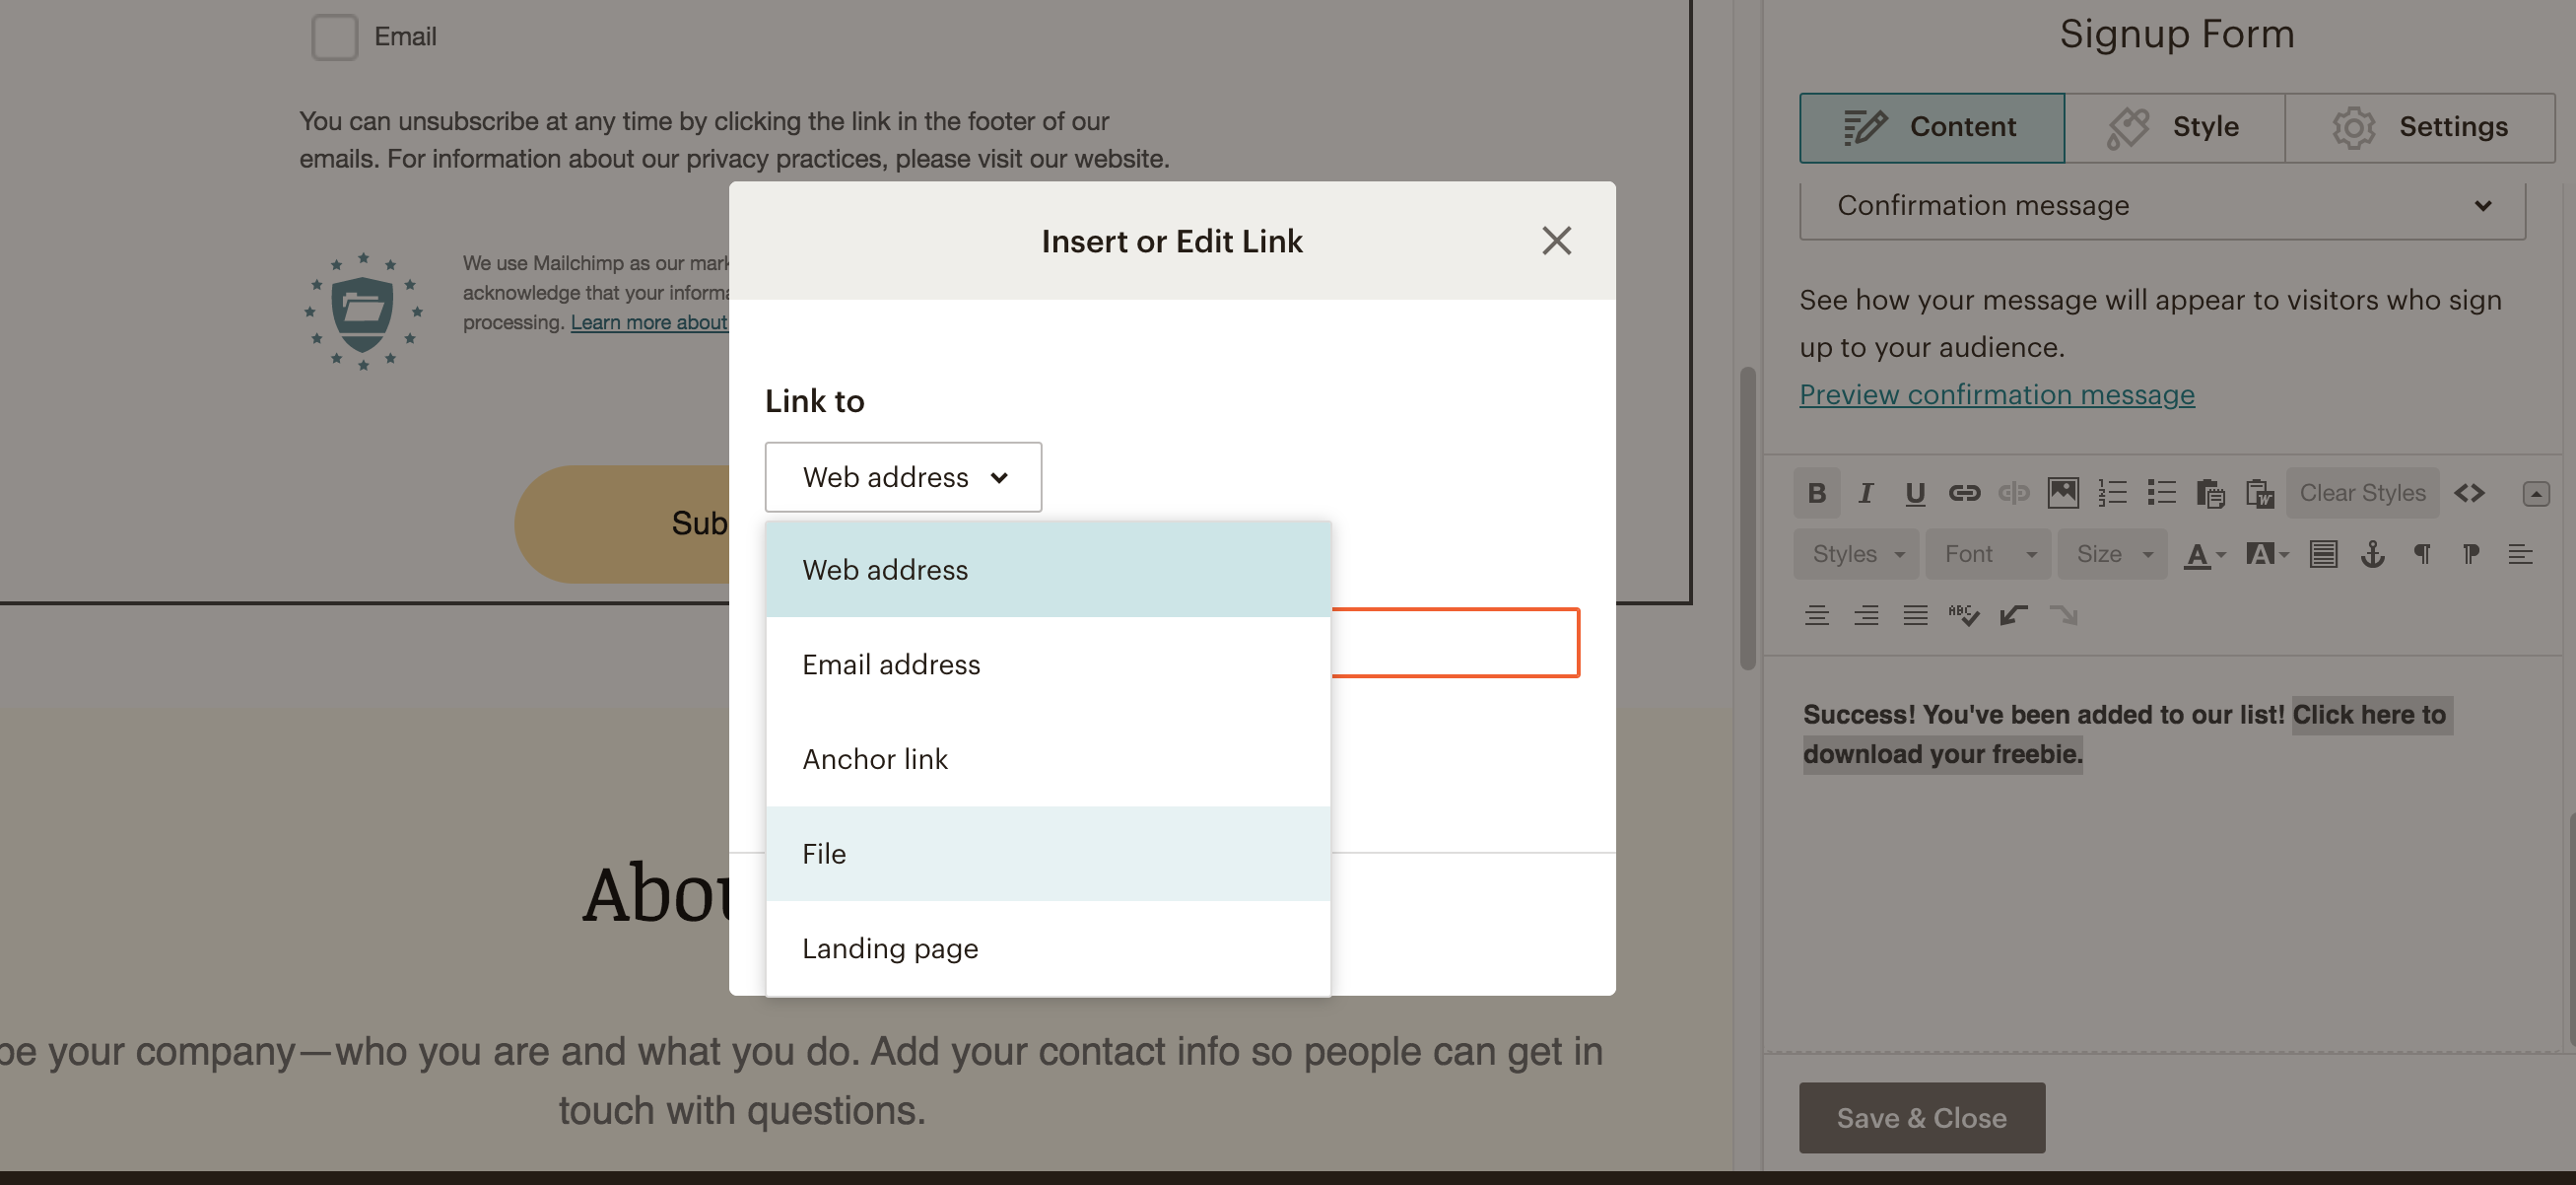

F. In the sign-up form, scroll down to the box for confirmation message, and link to your pdf by uploading it to your media files. Insert the file. Save and close that.
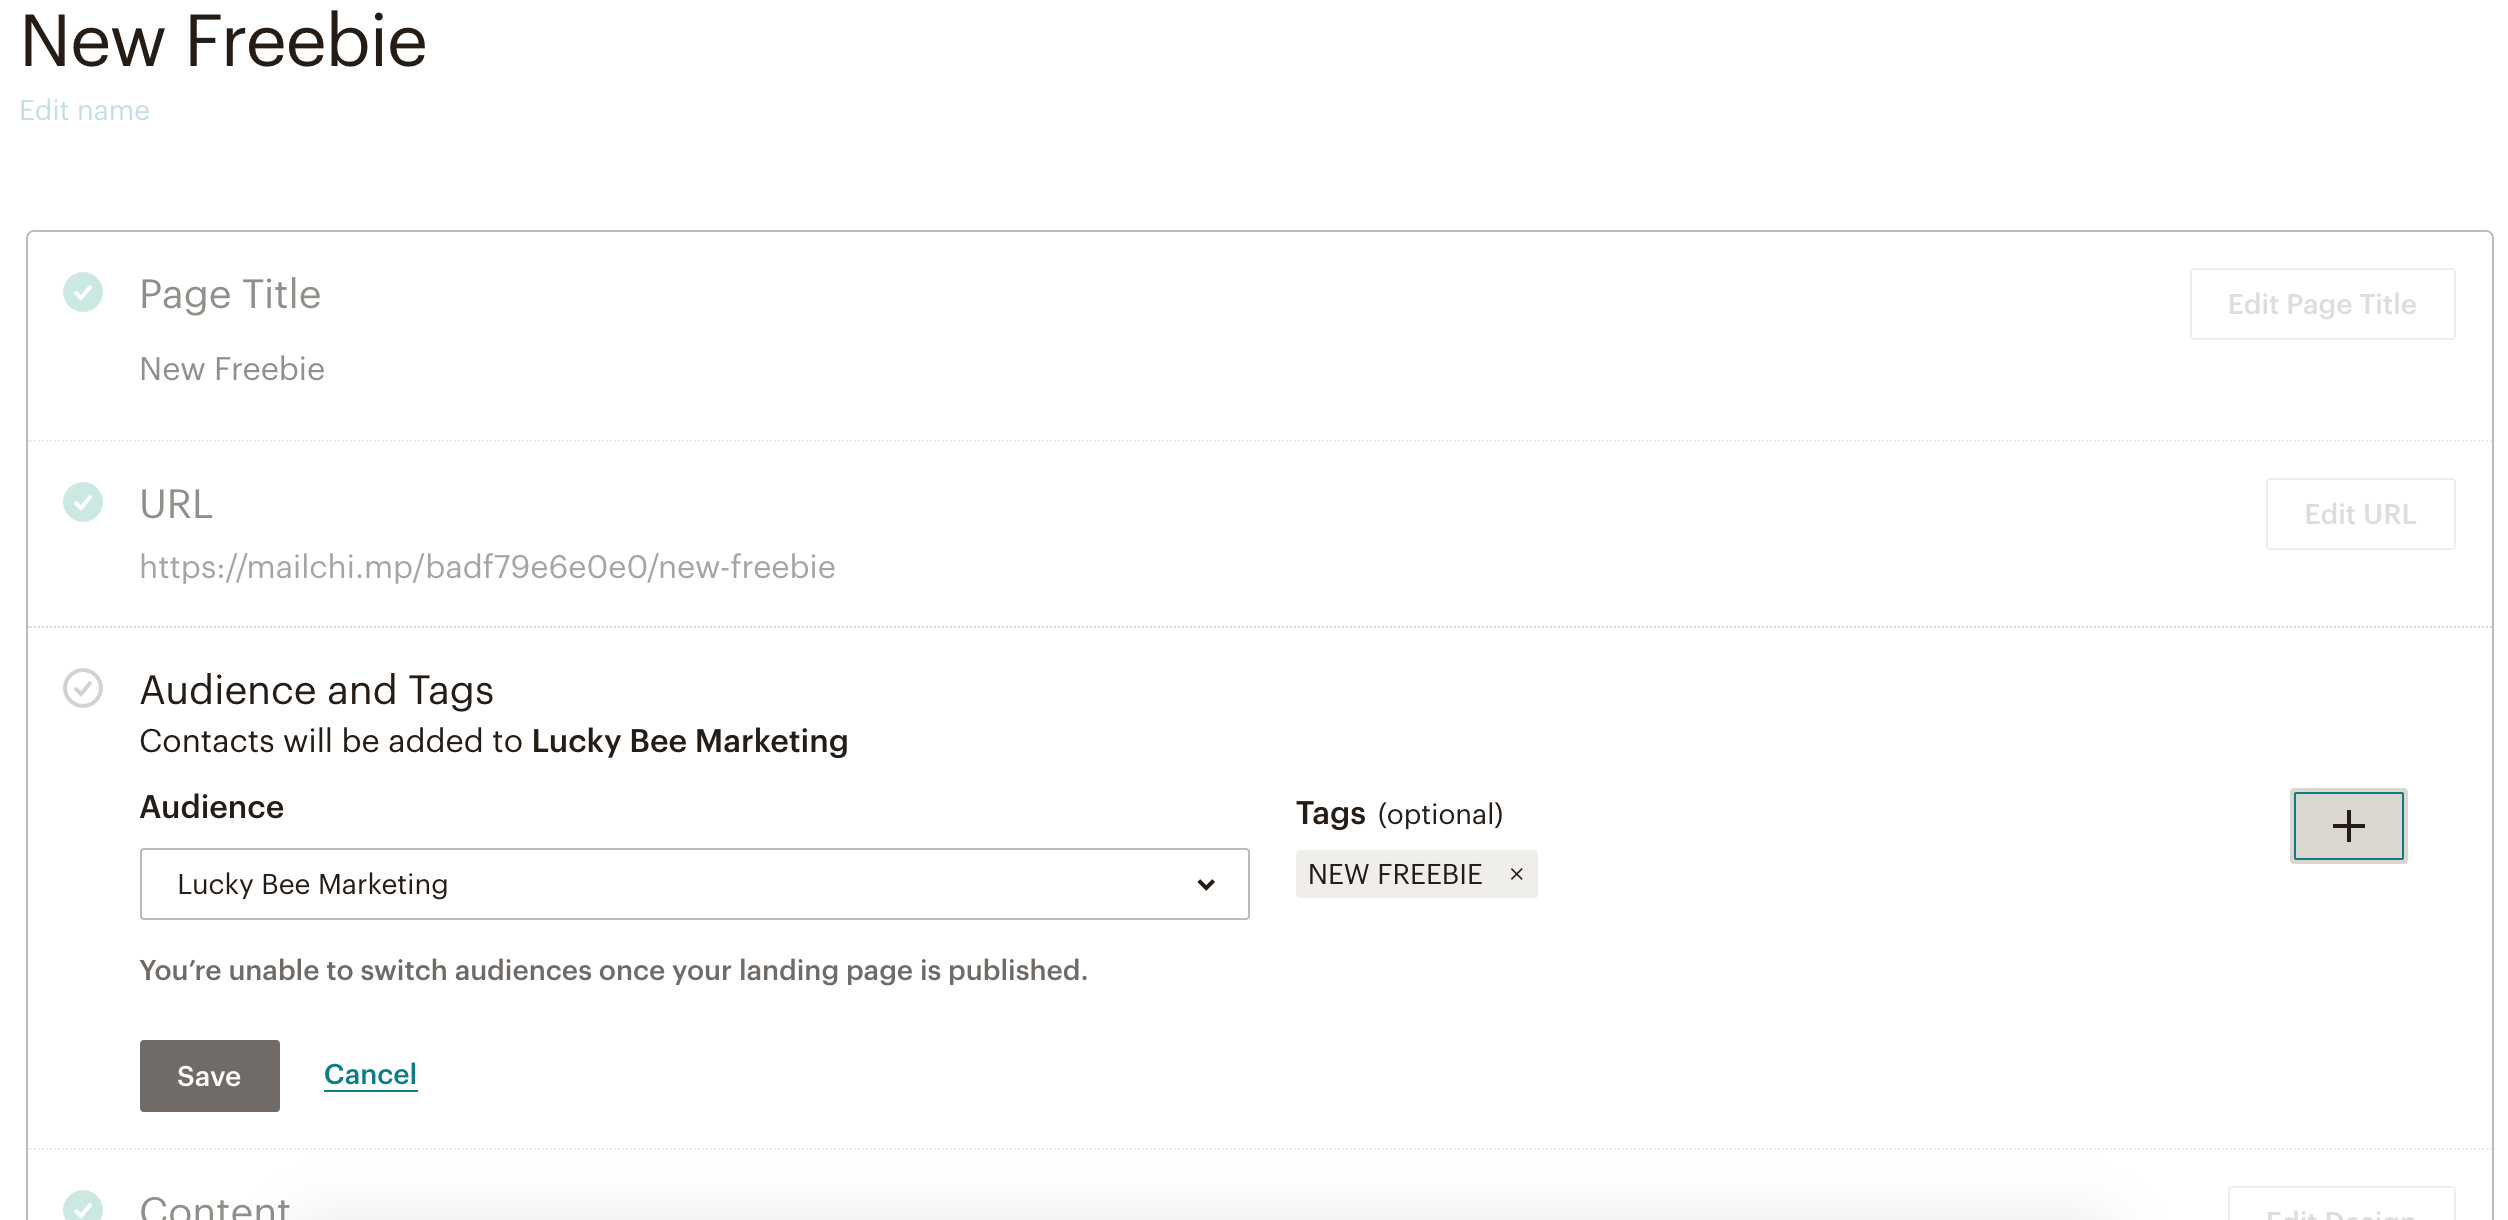
E. On the next screen, you’ll want to add a tag to your freebie. This will be important so that you know which of your audience members came from this freebie, and also so you can set up an automated email to go out after they fill out this form.
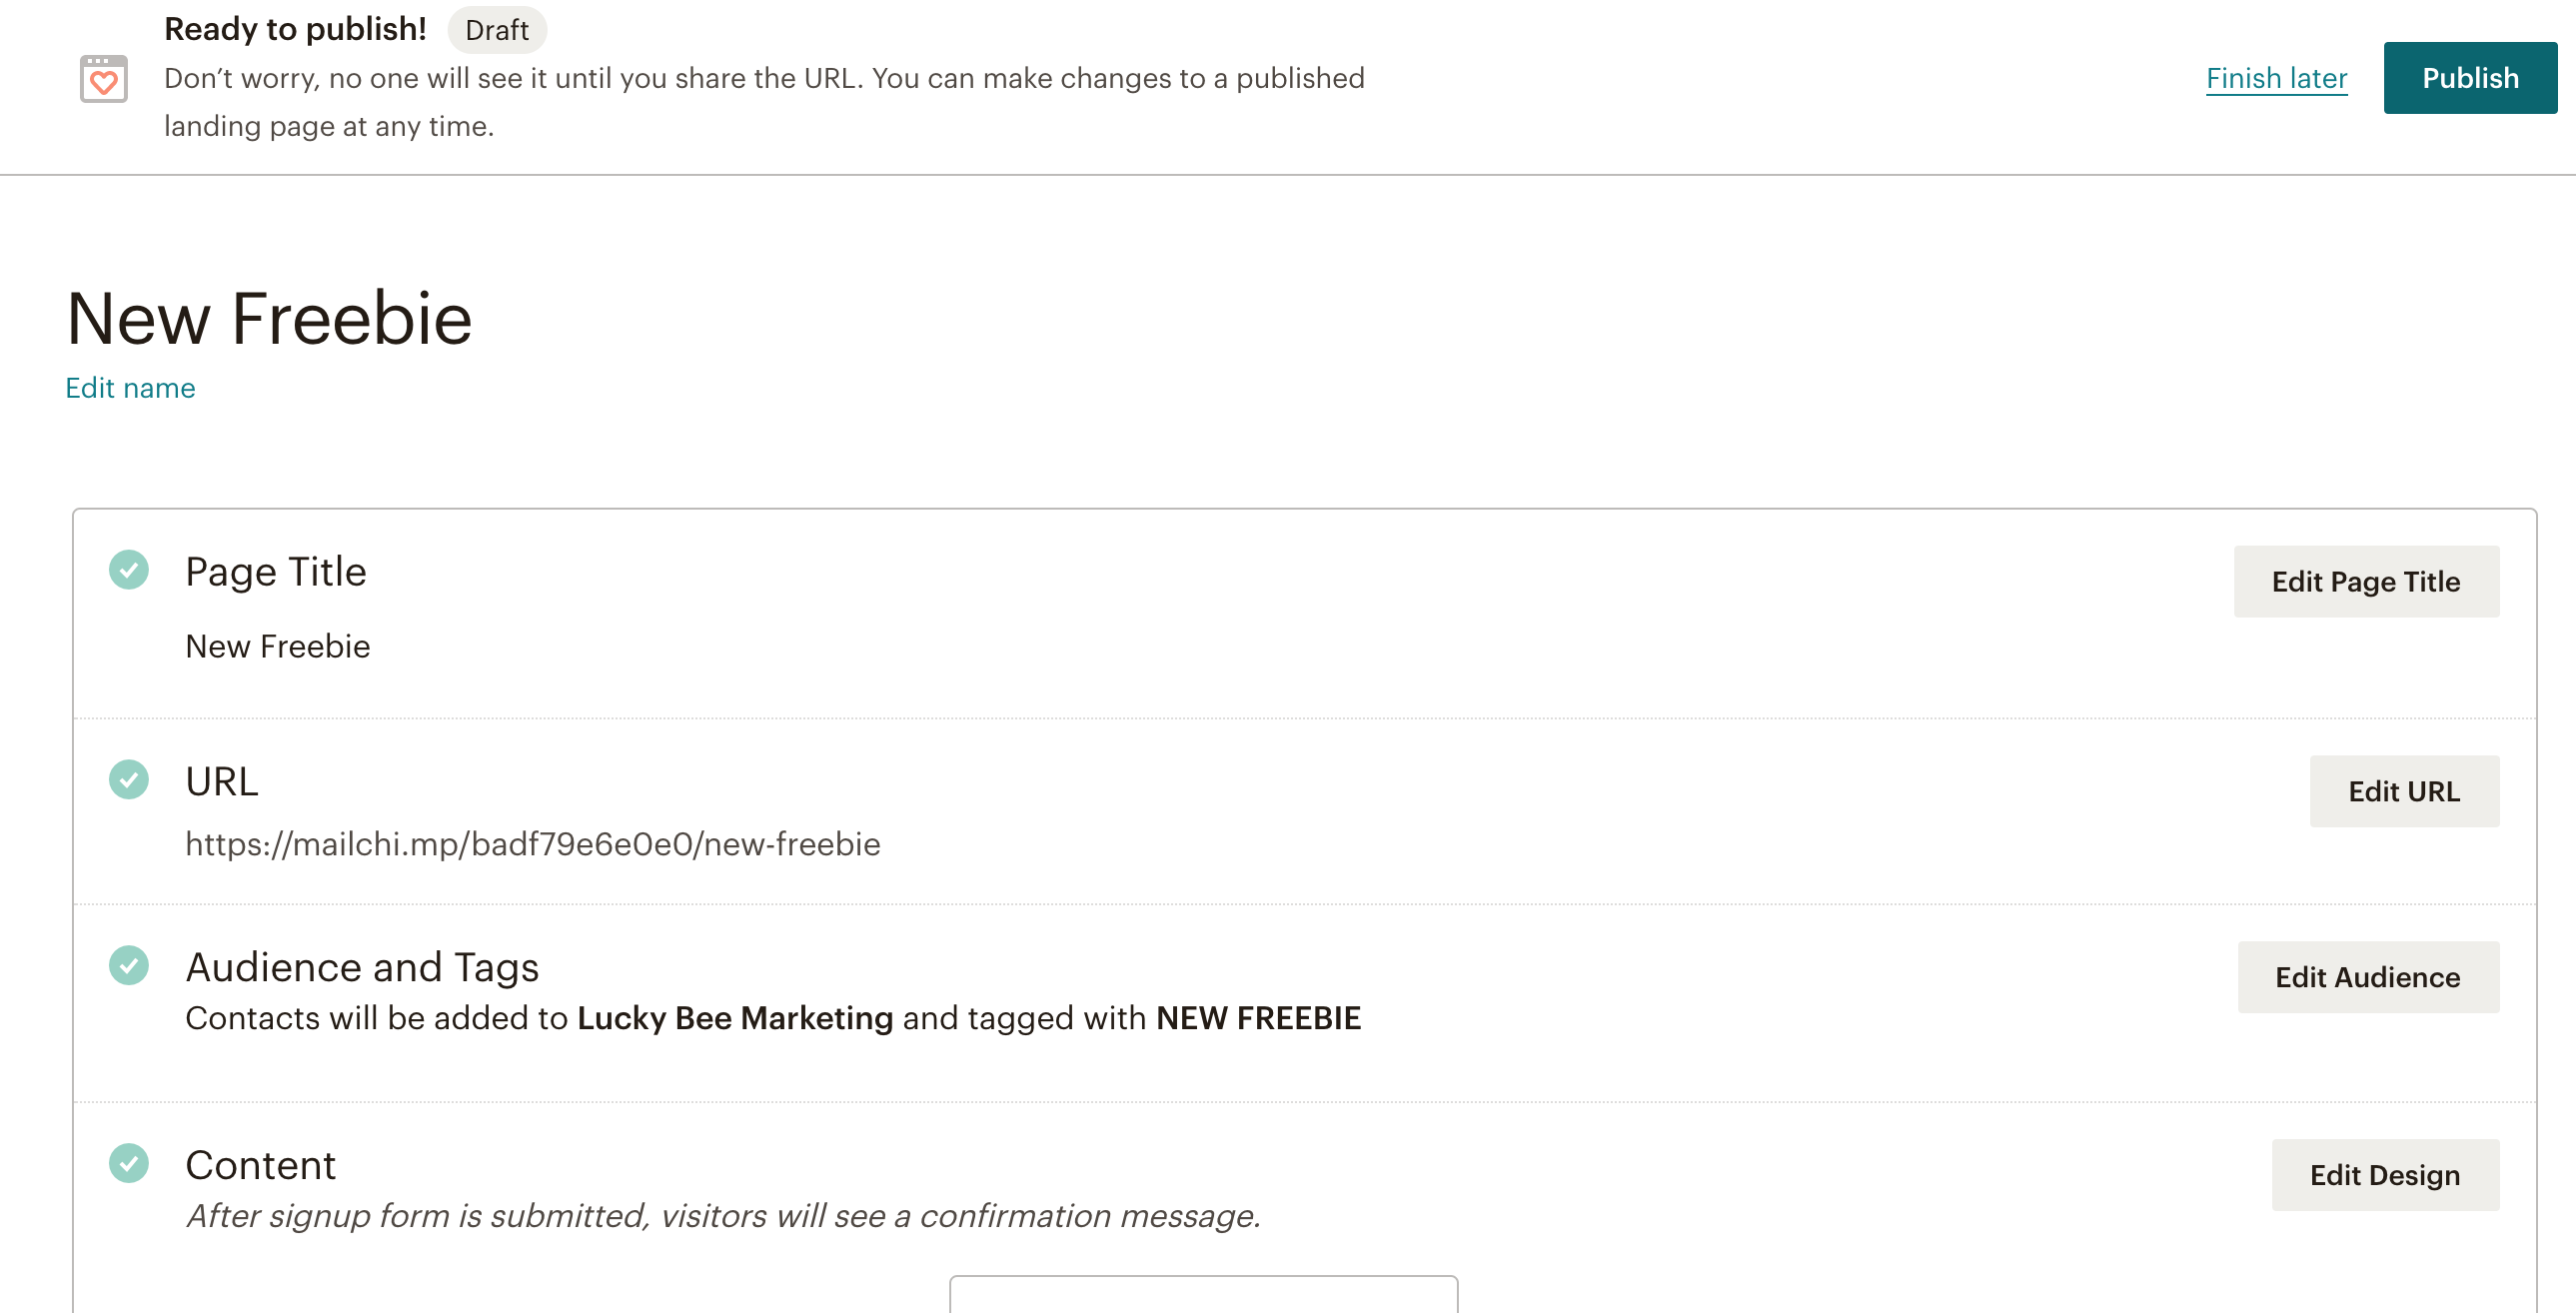
F. After everything is ready to go, you’ll hit publish in the right-hand corner!
4. Create an Automated Email (or three)
After filling out your landing page, they should automatically receive an email from you. This email should contain the following:
- The linked freebie again for safekeeping
- A short introduction to you/your business
- A personalized welcome from you and/or expectations for how much they will be hearing from you.
To do this, take the following steps:
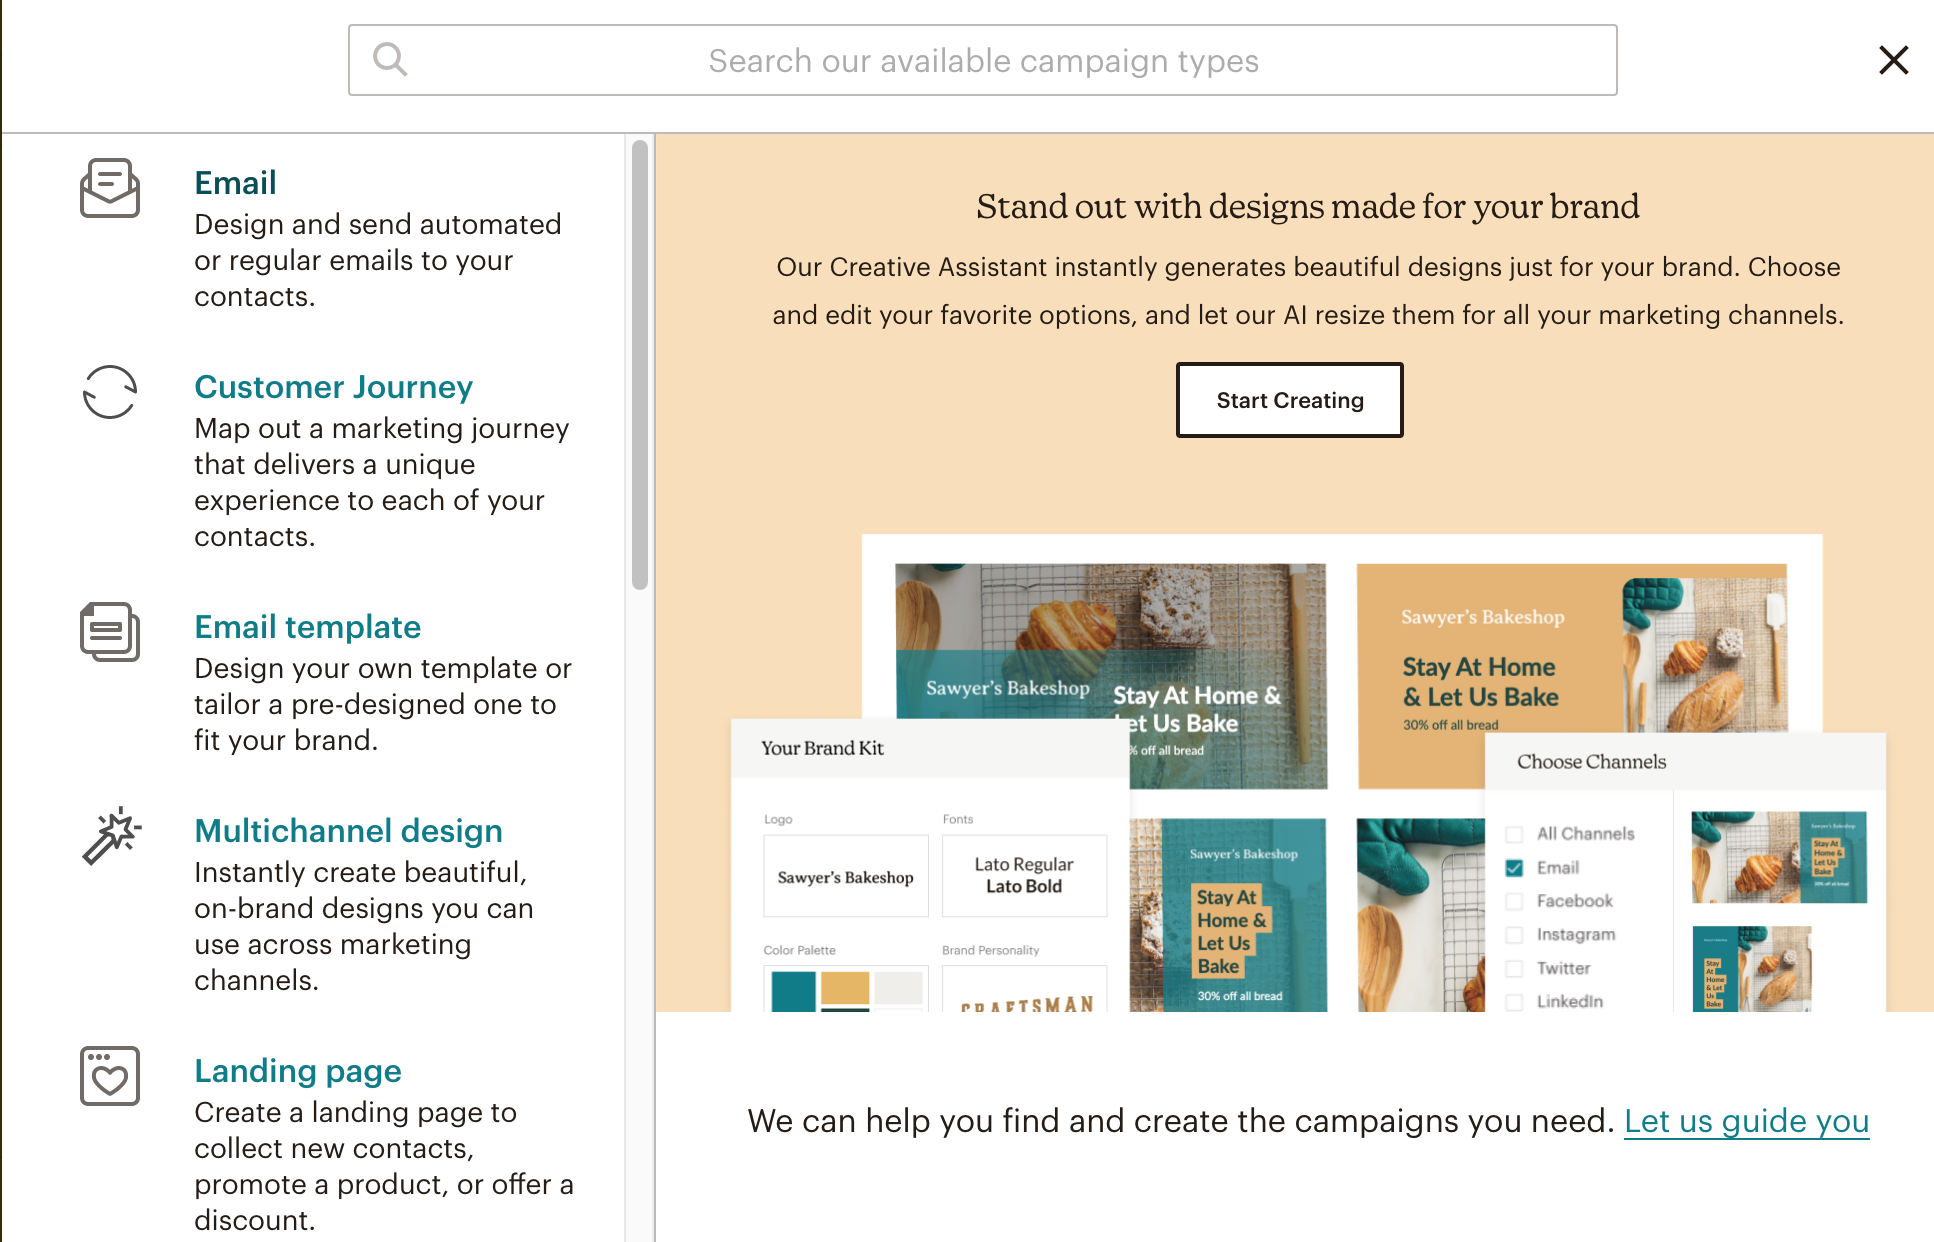
A. Press Create Campaign and Choose Email.
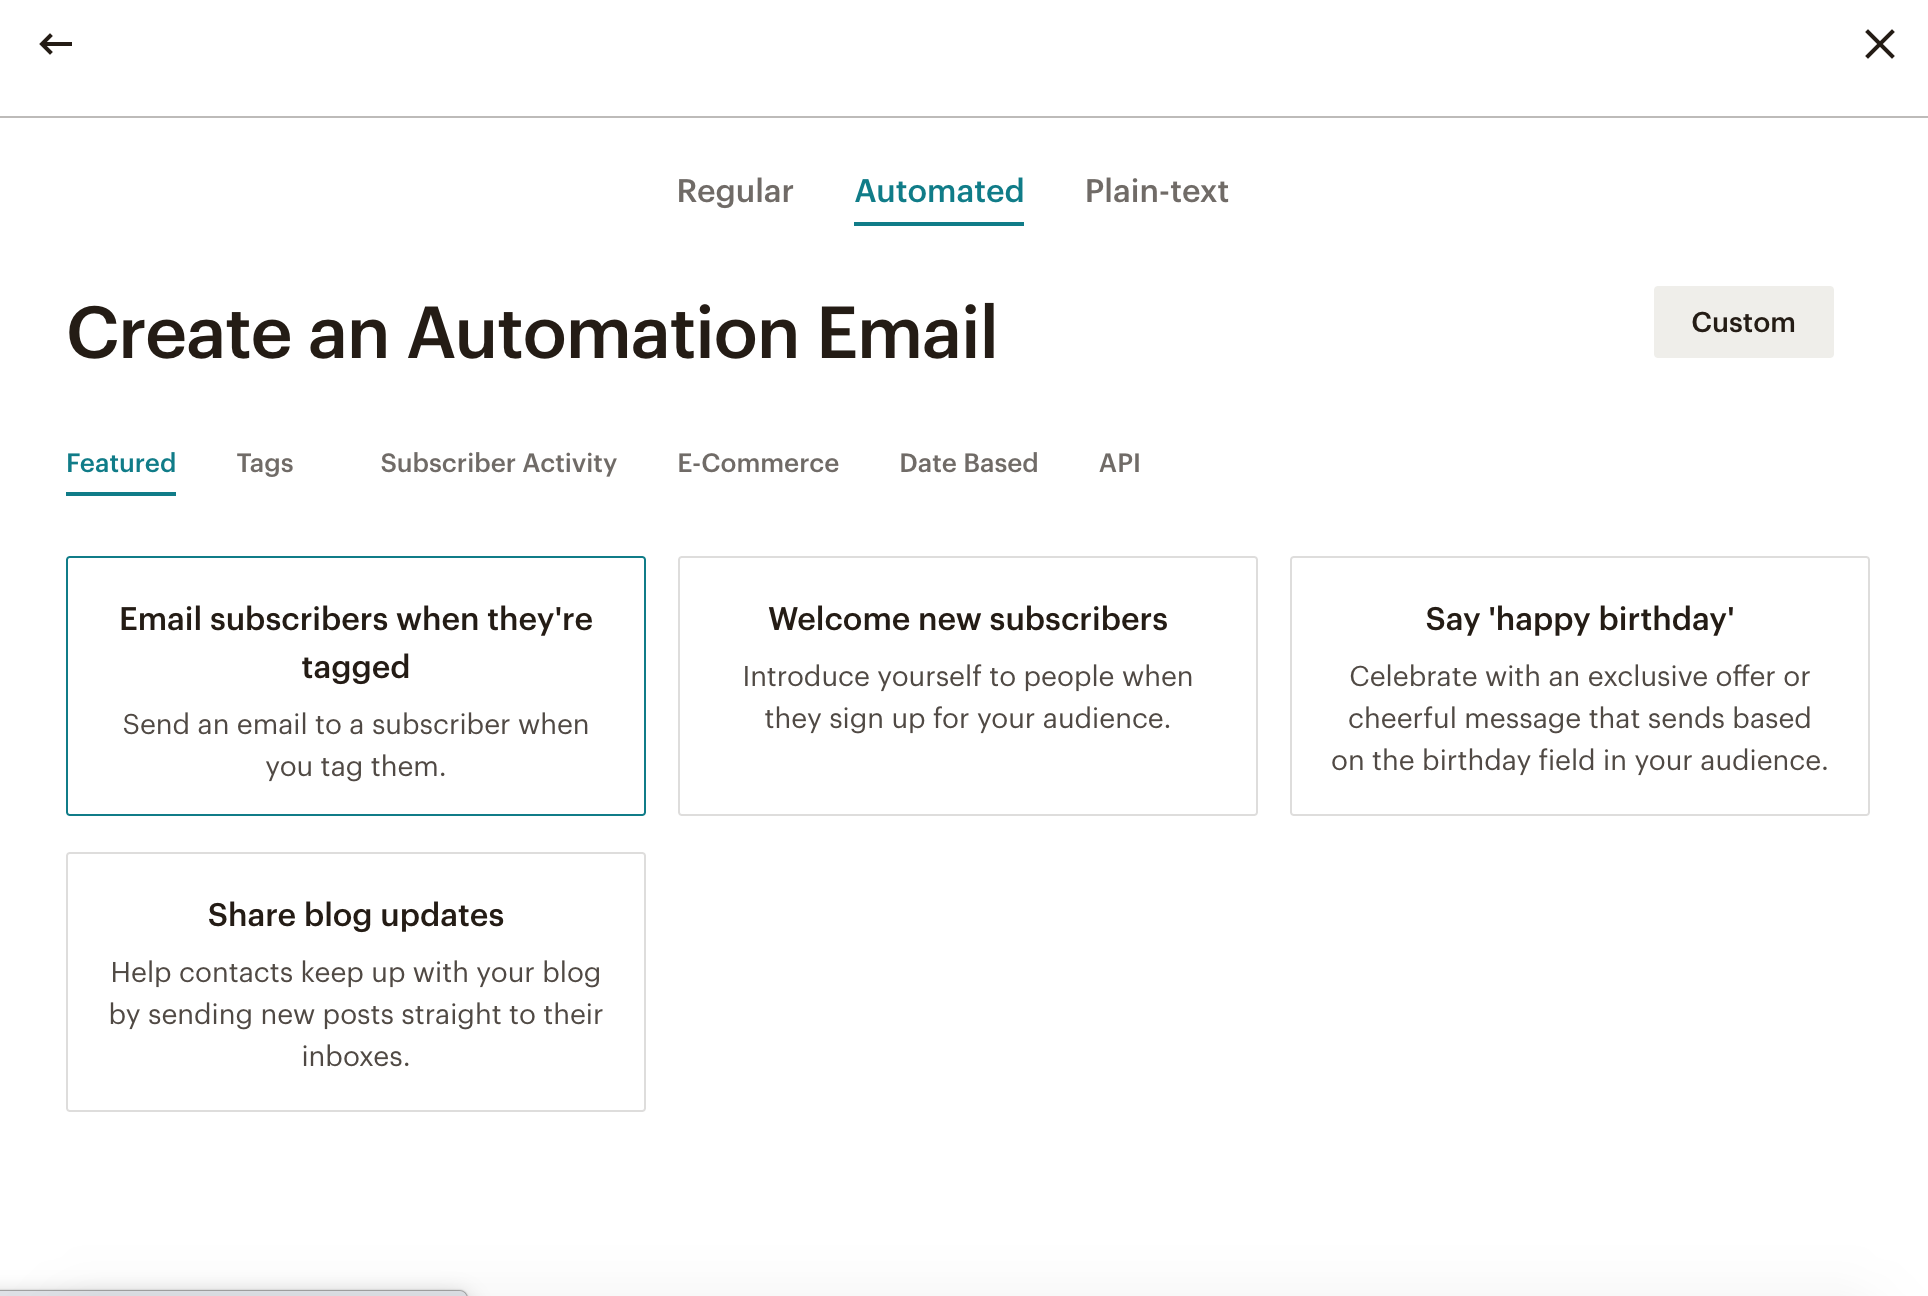
B. On the next screen, click the “automated” tab and then “email subscribers when tagged.”
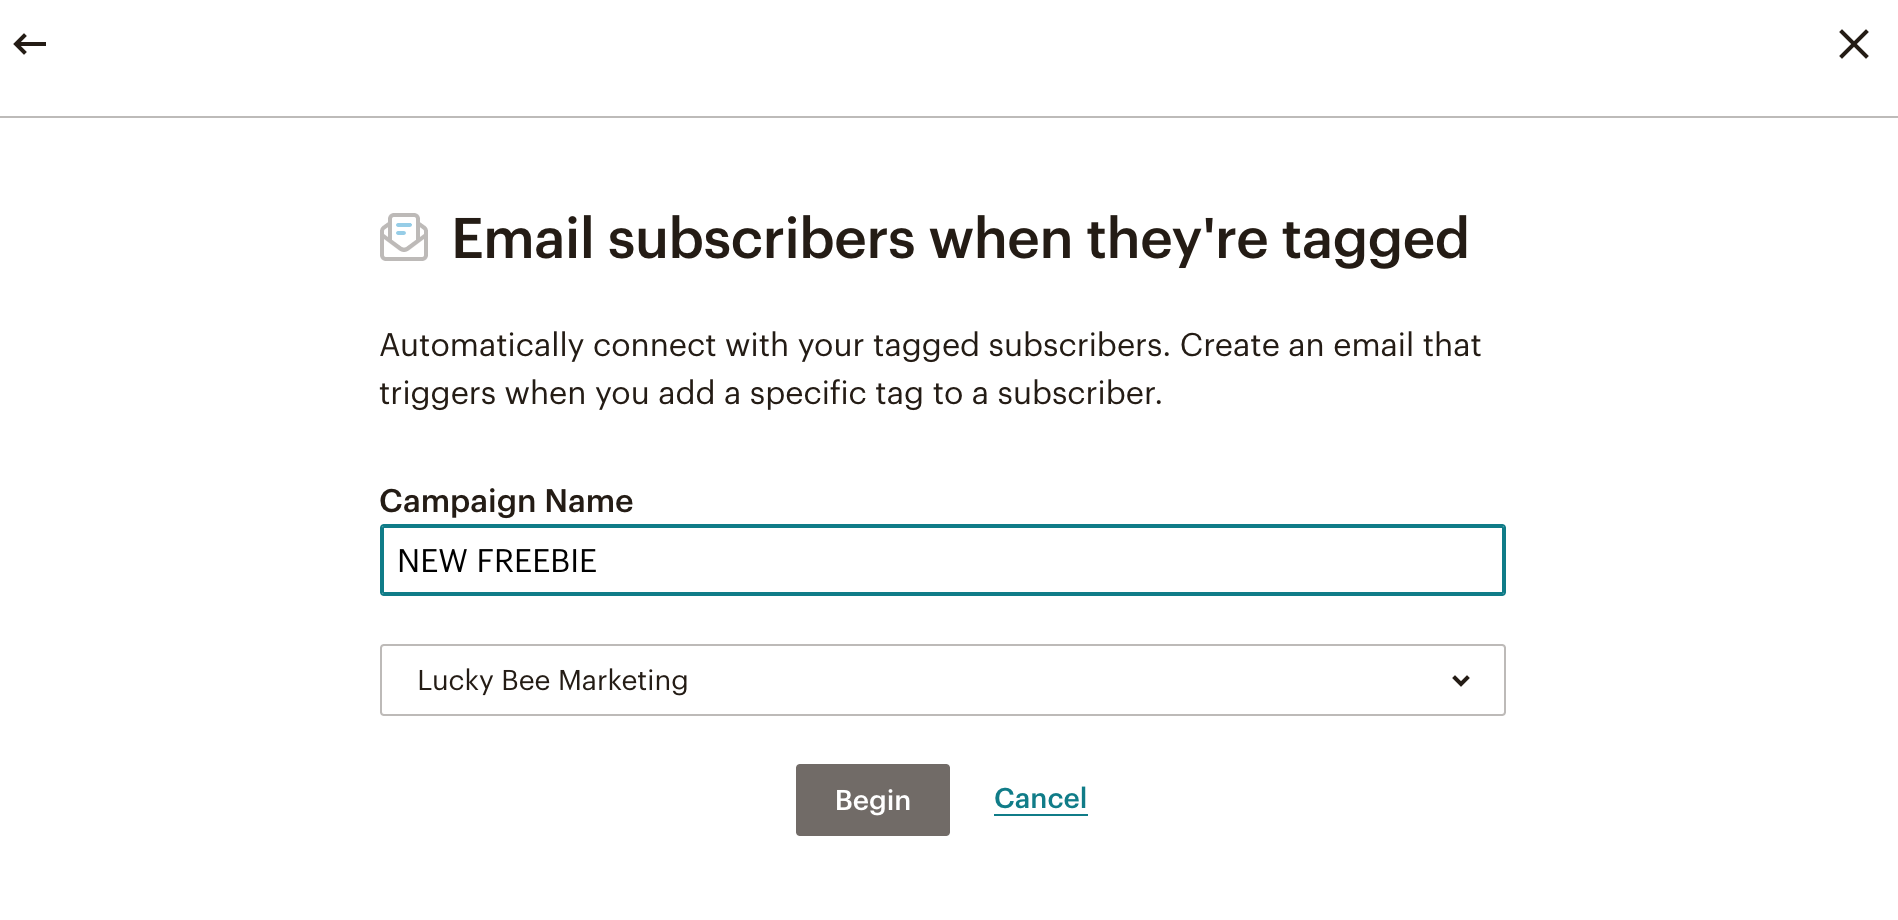
C. Name your campaign and go to the next screen.
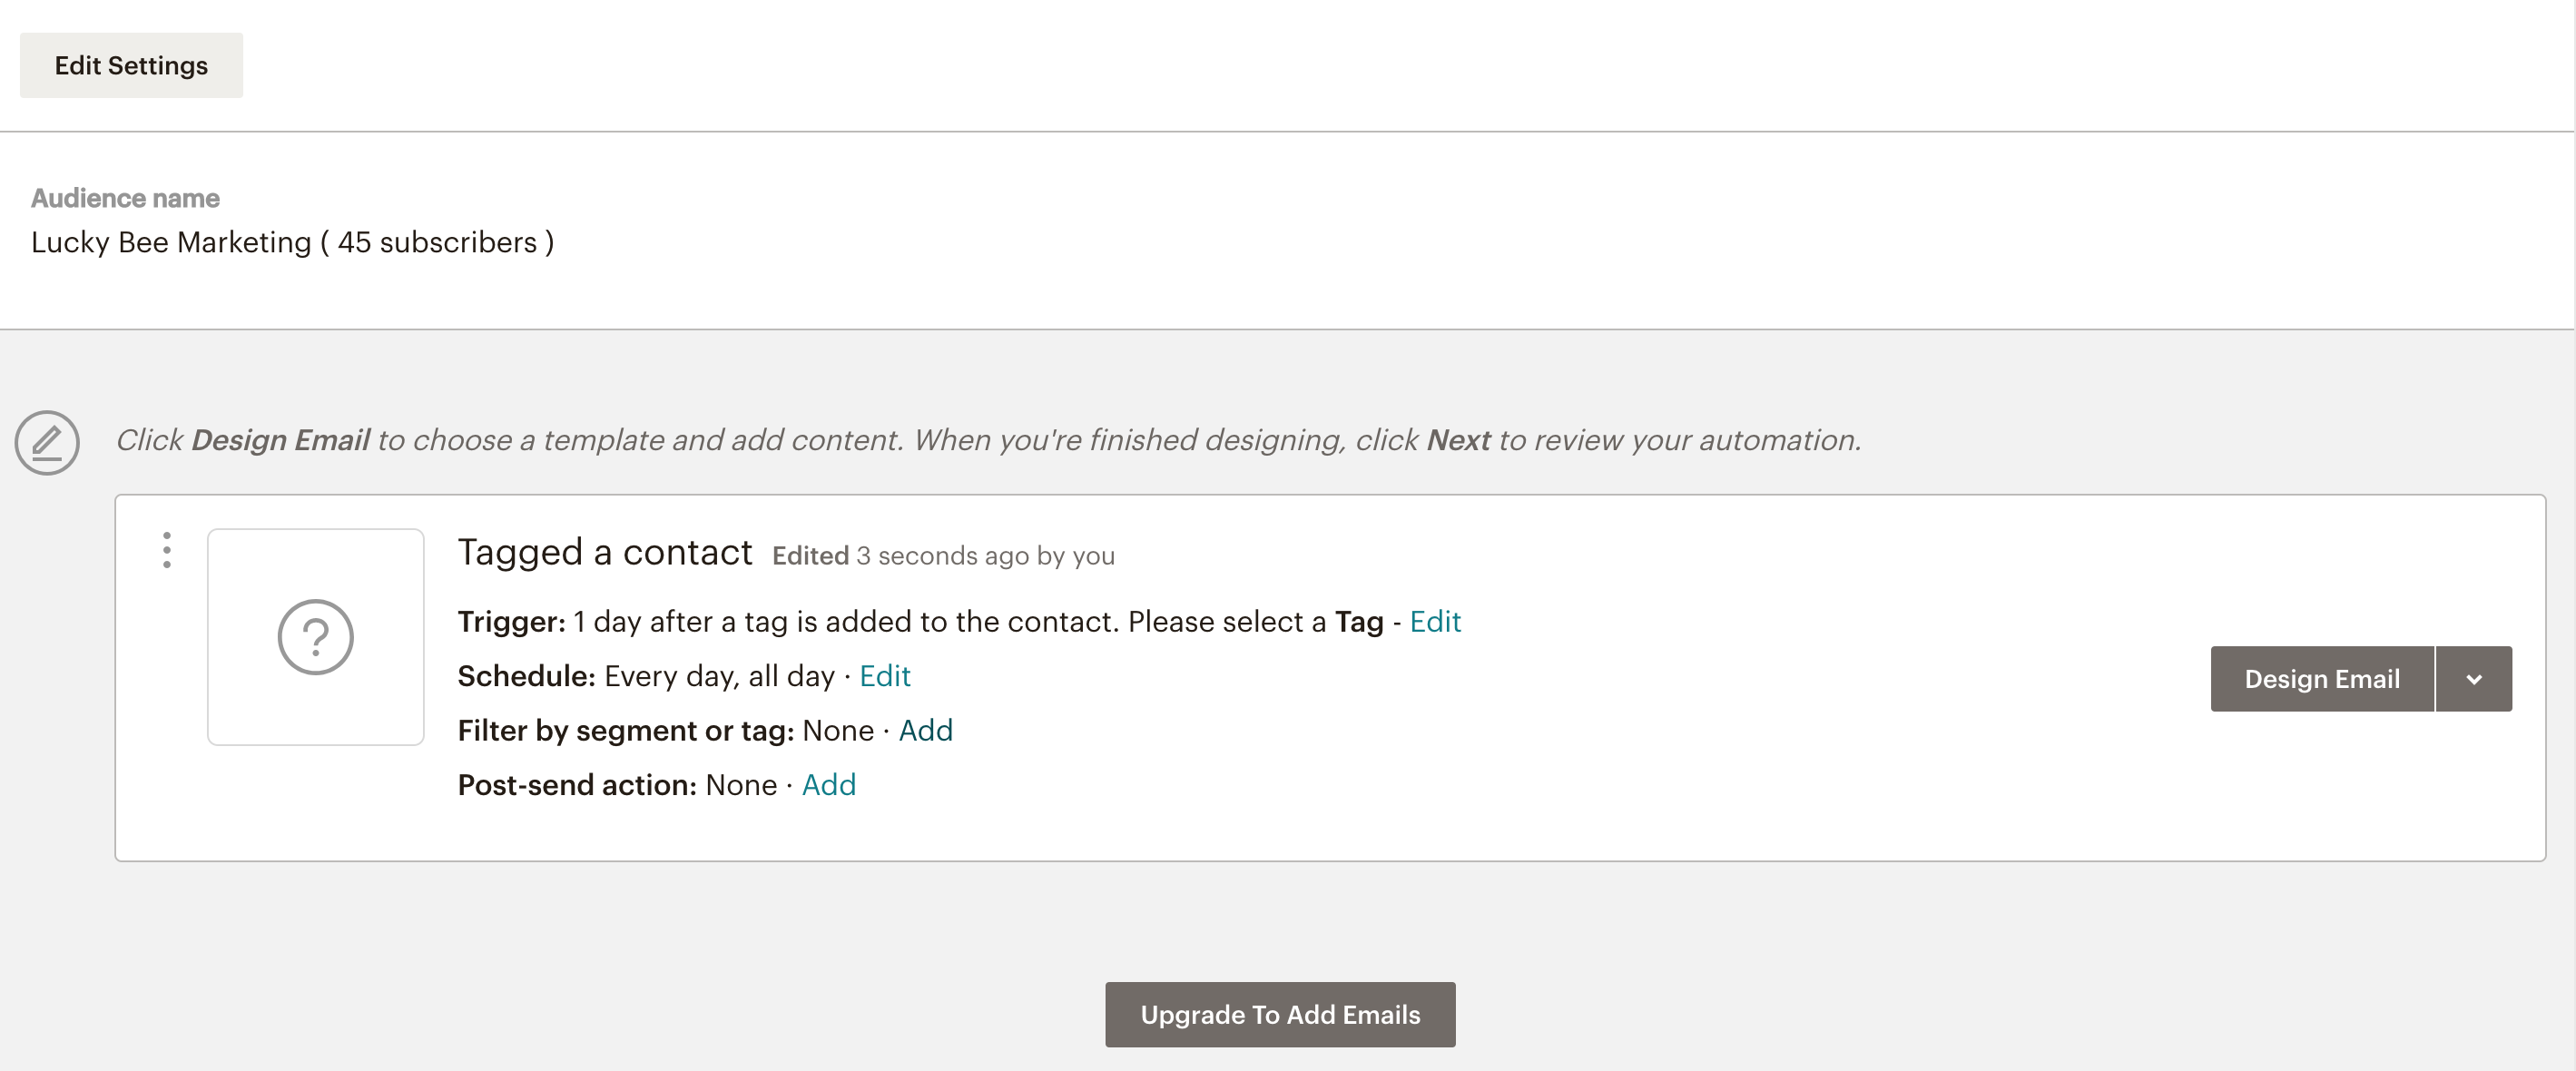
D. Under trigger, click “edit” to choose the tag.
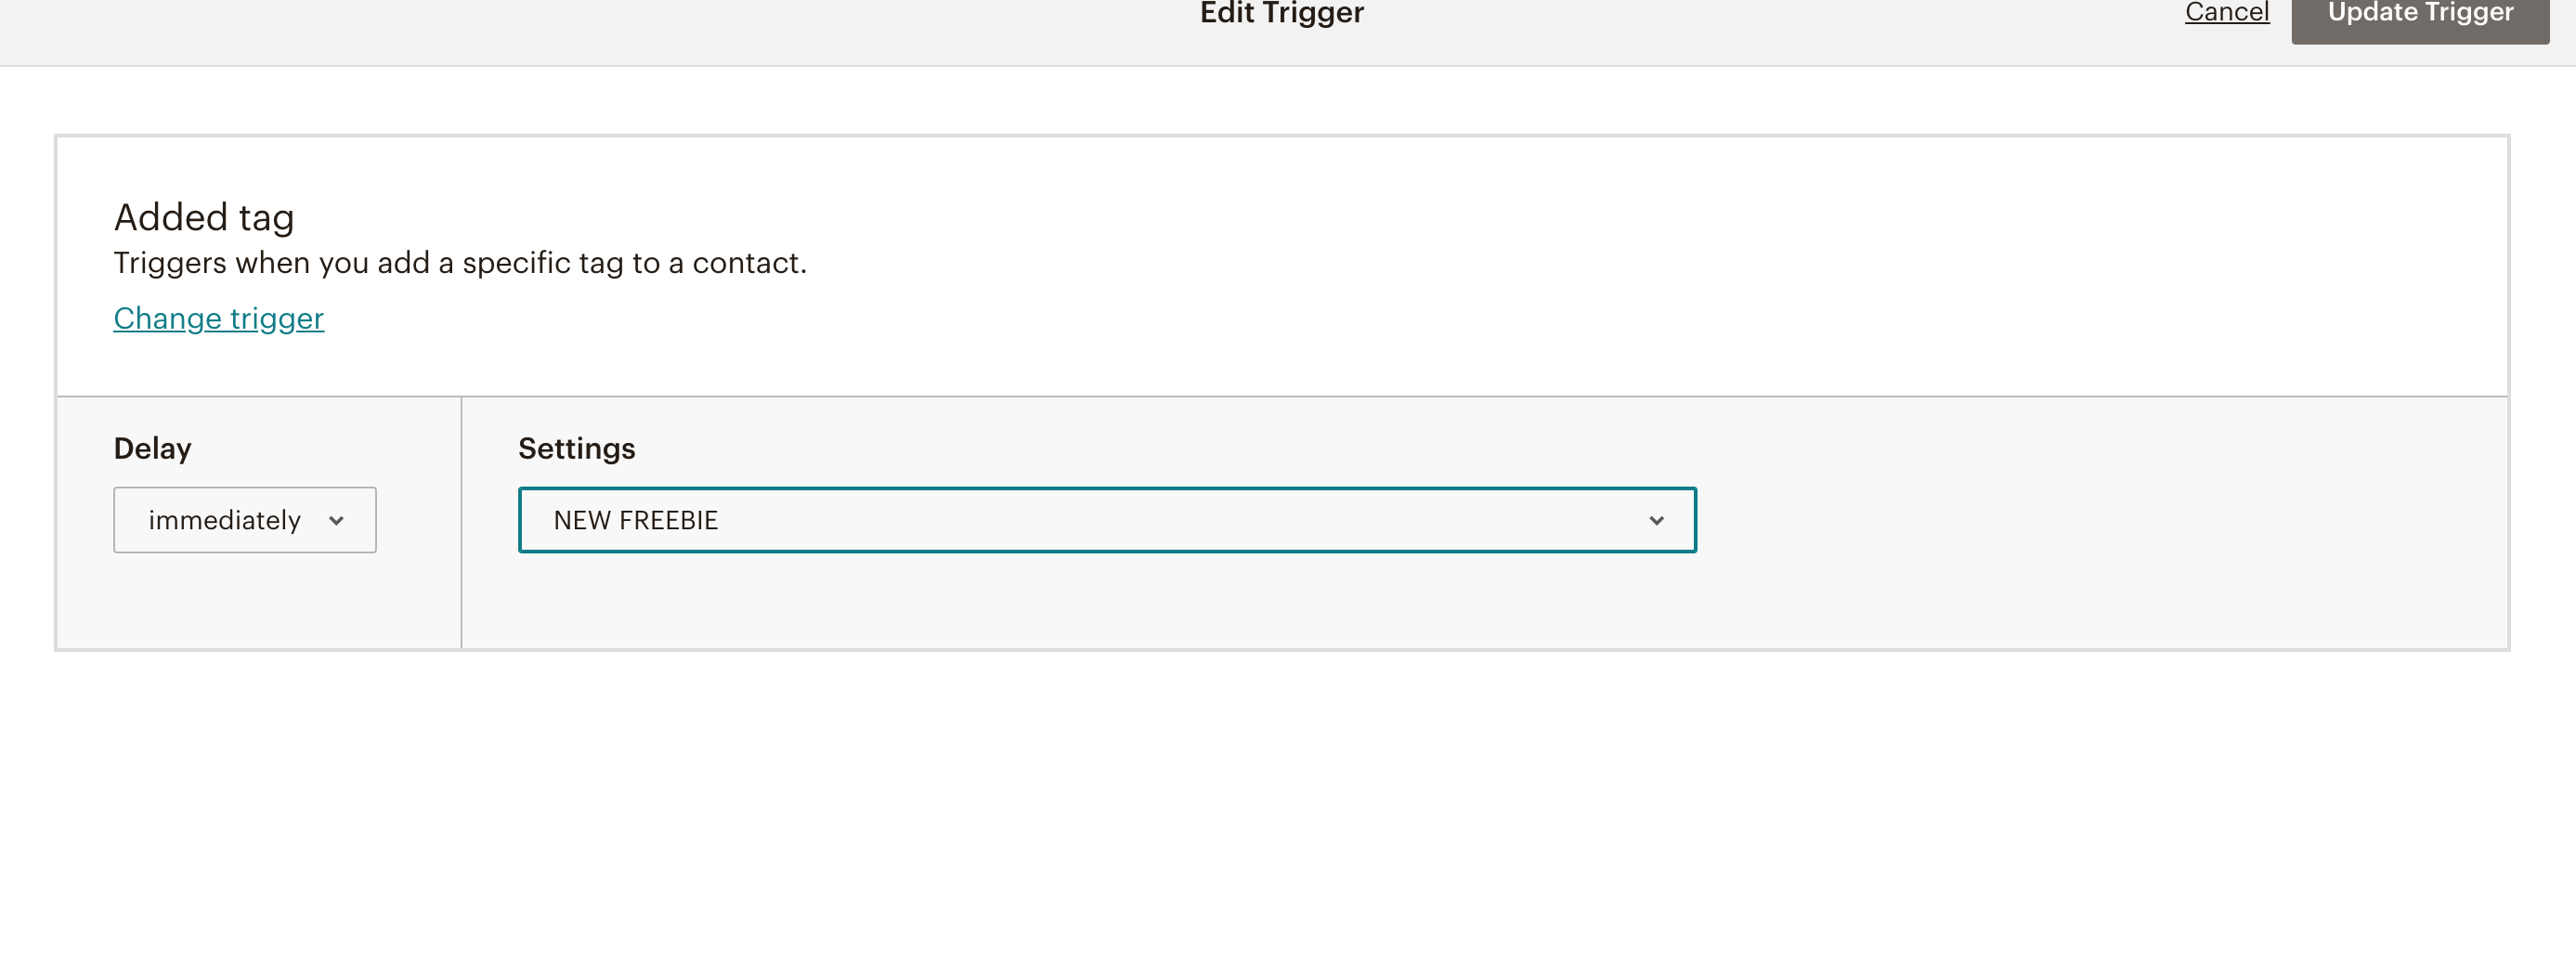
E. Add the tag that you set up on the previous landing page, and change the delay to “immediately.”
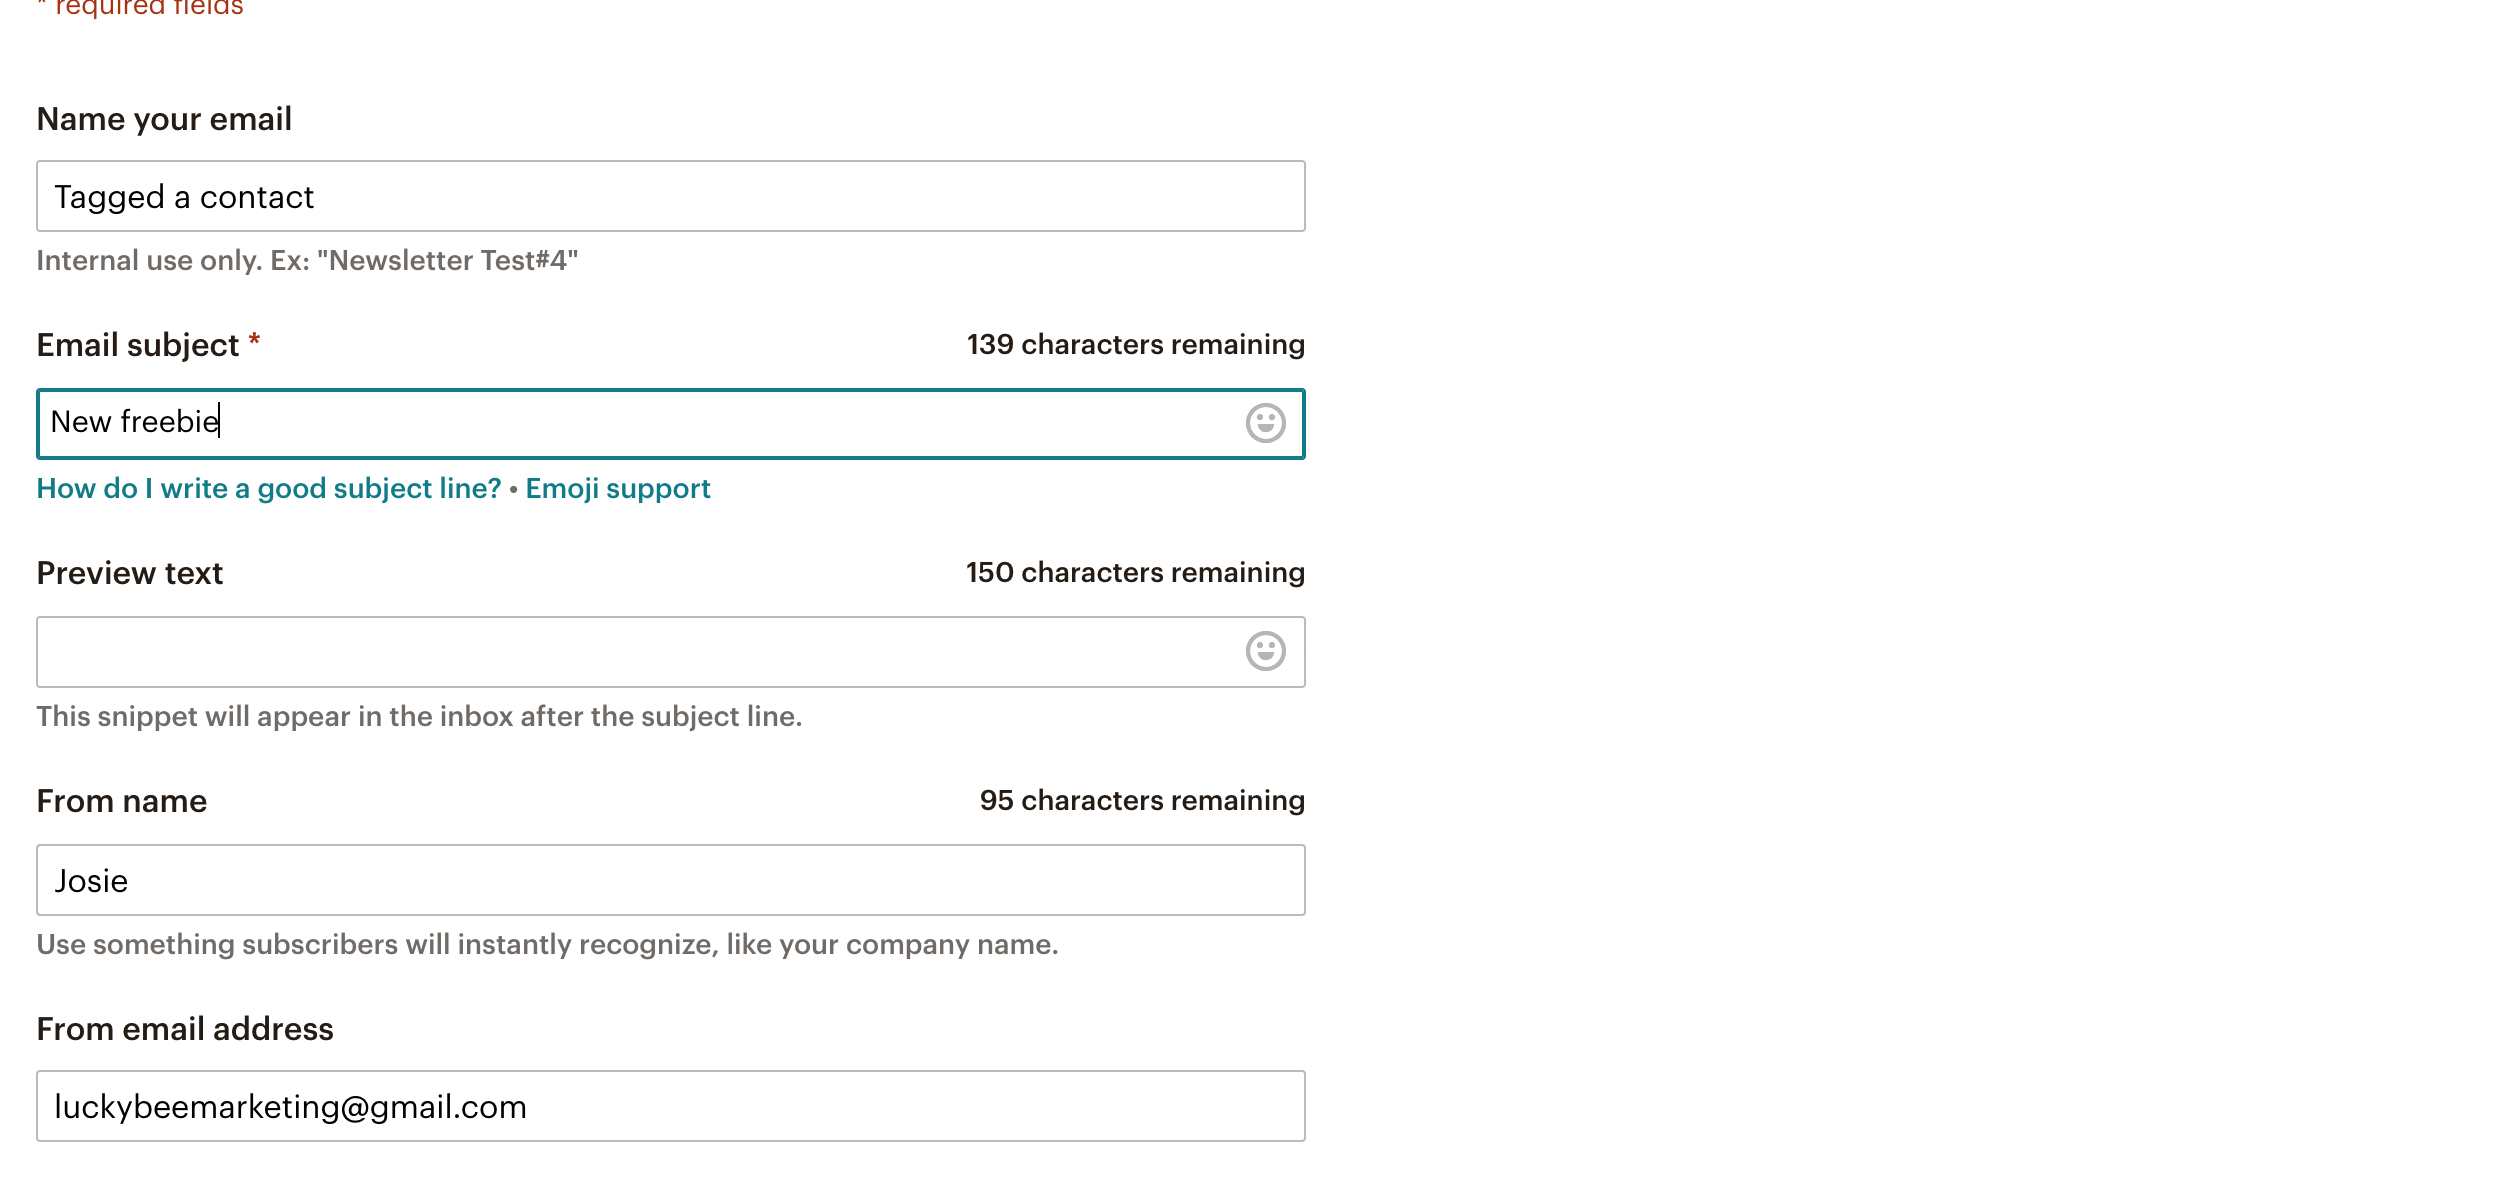
F. Update your email subject line, preview text, from name and email address.
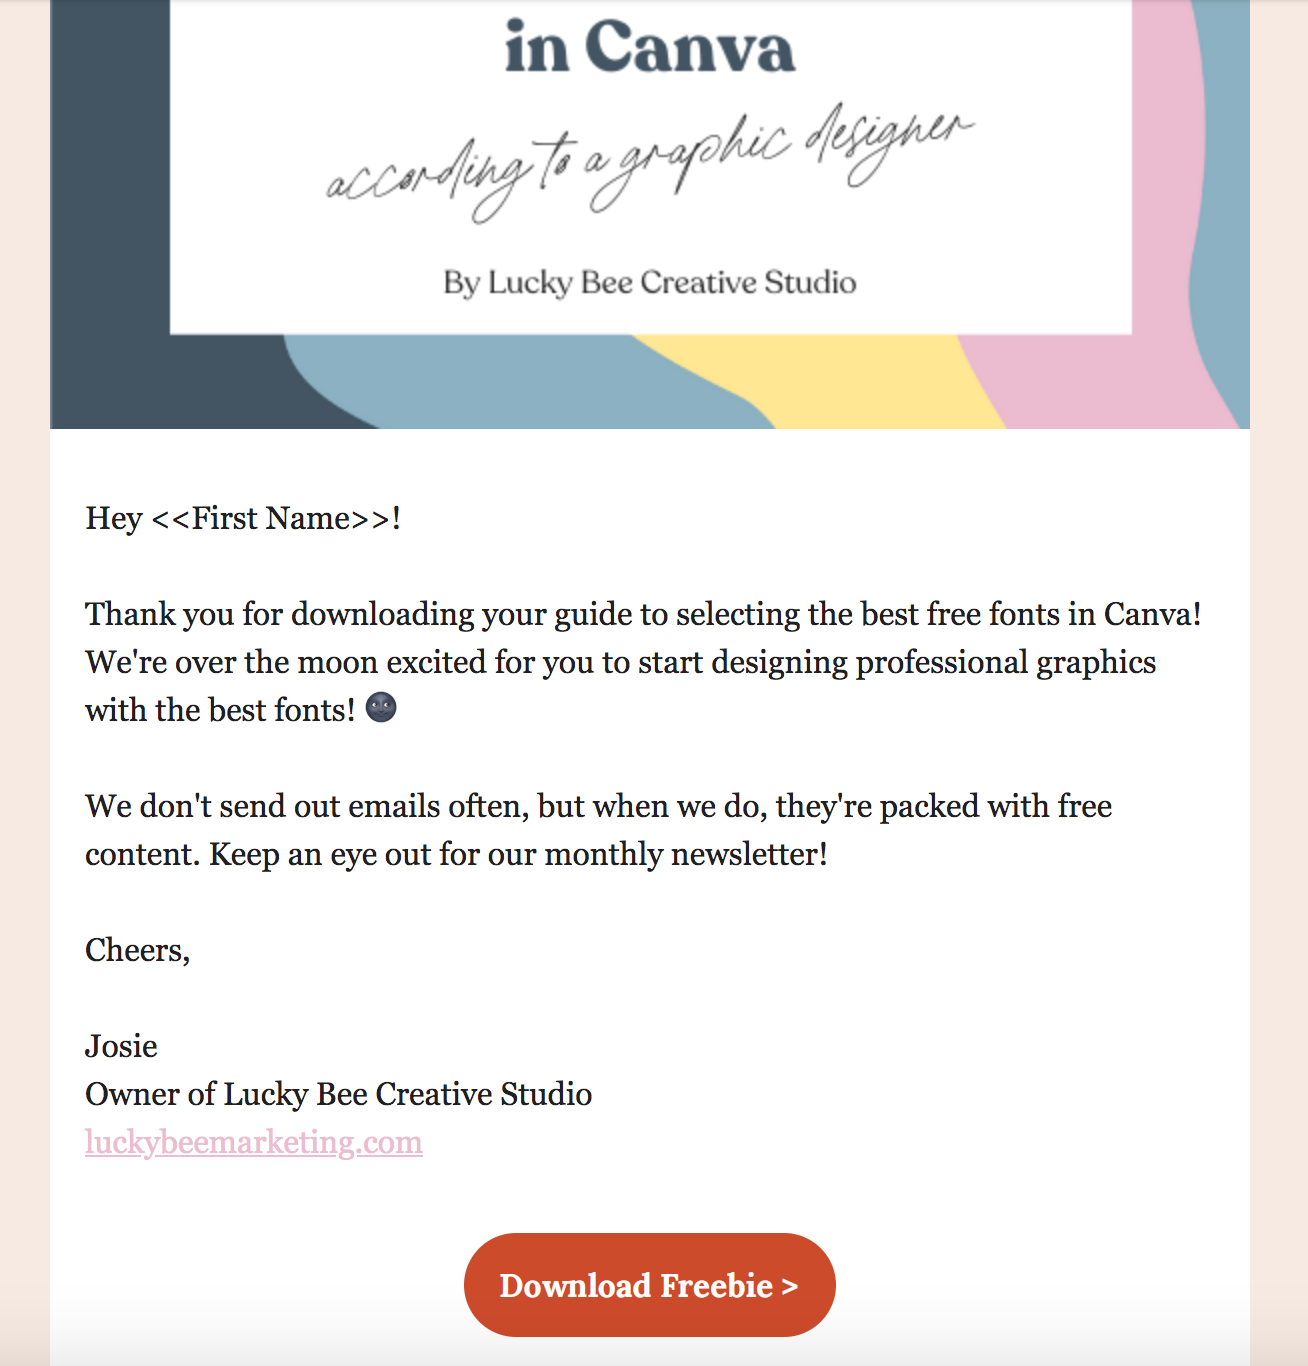
G. Design your email and link to your freebie like you did in the landing page.
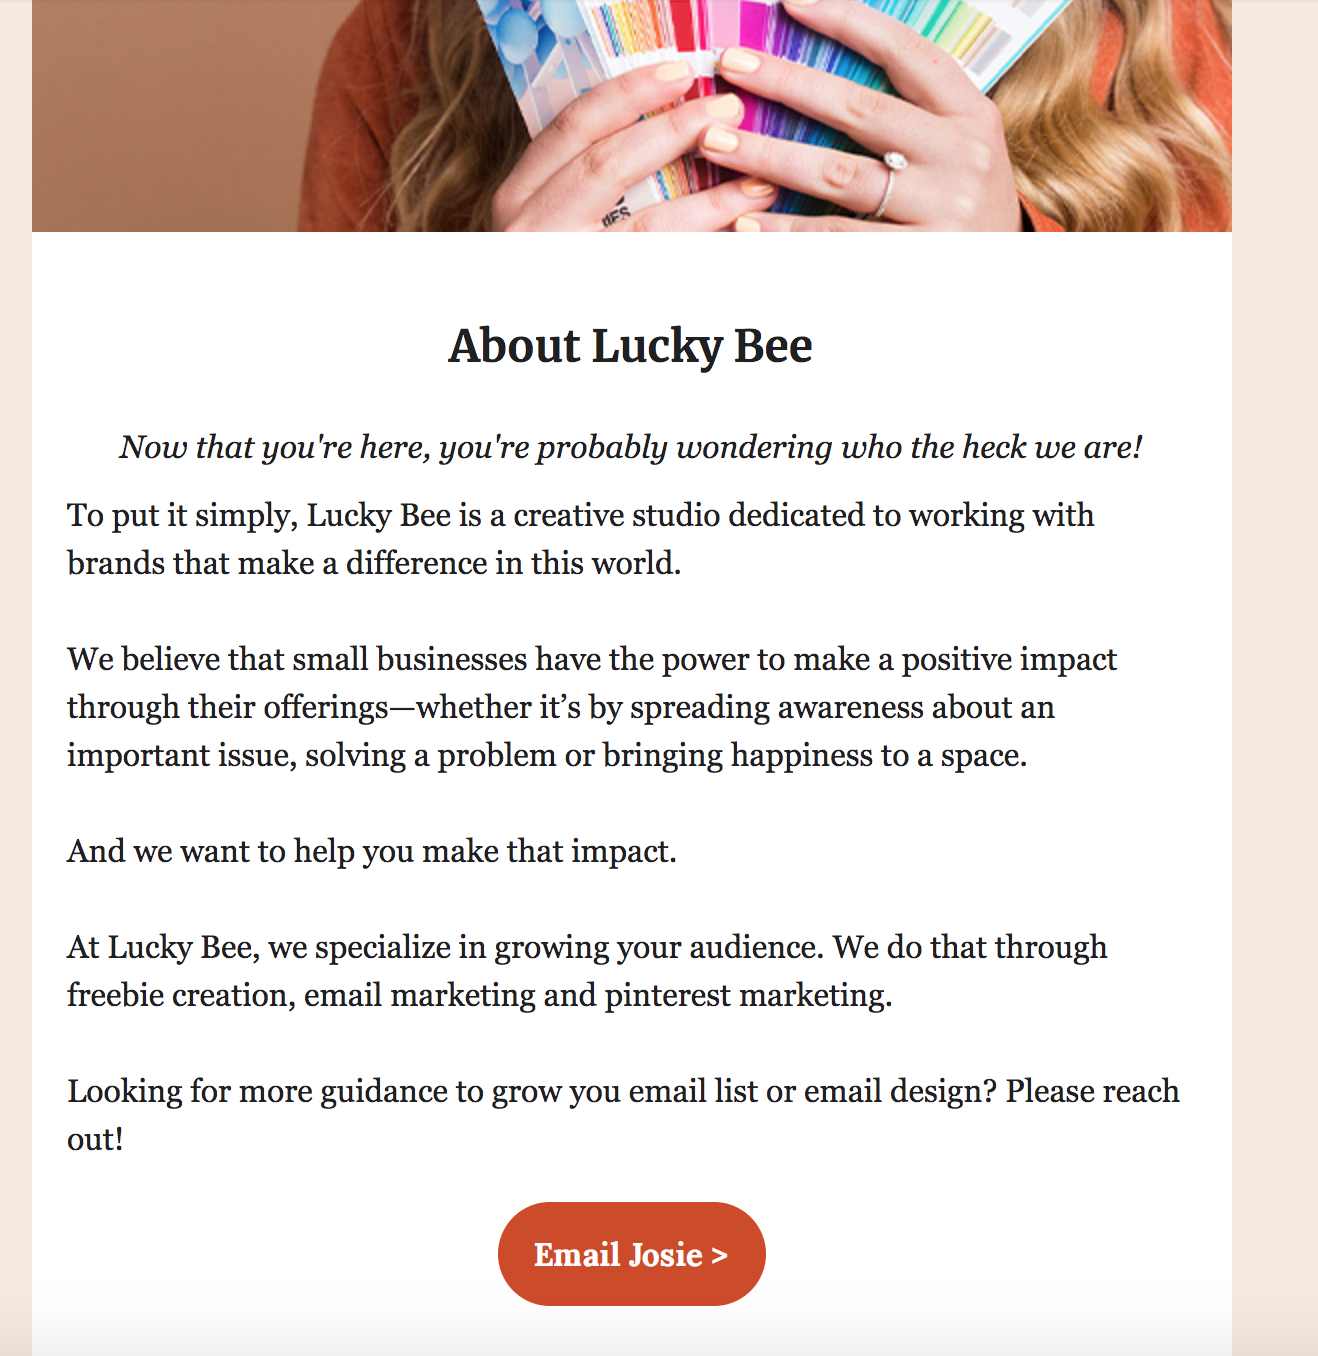
H. Add in a blurb about how you can help this person do xyz (for example, grow their business, save time, etc.) and what they need to do next (for example, email you or fill out your contact form). Then publish that automation!
There you have it—that’s how to create a freebie with Mailchimp, which is also an incredibly valuable marketing funnel for your business. Make sure to share this on Instagram, Facebook, Pinterest and anywhere else you market your business! To be perfectly honestly, Pinterest is our favorite for this. Your ideal audience will be so excited to receive free advice from you, and you’ll be growing your email list in no time.
If you need help creating a freebie, landing page or automated email sequence, please reach out by filling out our contact form. We have helped our clients generate up to 2200 email addresses through freebie creation and design, and we would love to help you do the same!

How to Set Up a Pinterest for Business Account

About Lucky Bee Creative Studio
popular posts
Explore More
Personal Branding for Penelope Featherington

How to Create a Freebie Sequence with Mailchimp

Personal Branding for Camila Dunne from Daisy Jones

Bookstore Branding Design: Nook & Quill


